Vendor Relation
Vendor Relation manual
- Introduction
- Dashboard
- Supplier
- Quote
- Order
- Inbound booking
- Picking list
- Charge
- Introduction
- Create Expense
- Update Expense
- View Expense
- Submit Expense
- Retract Expense
- Approve Expense
- Inventory
- Report
- Tool
Introduction
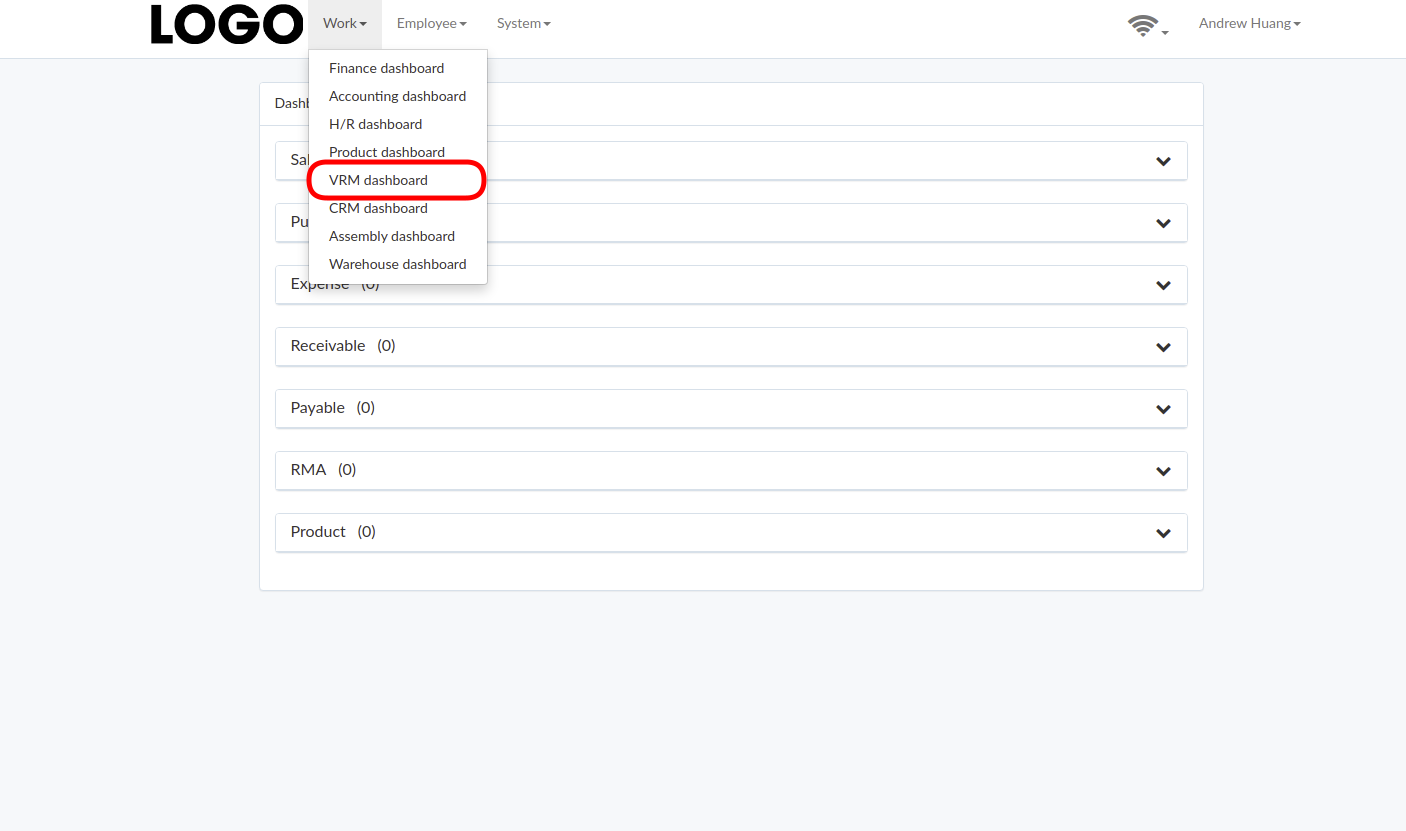
VRM dashboard can be found under "Work" menu
Dashboard
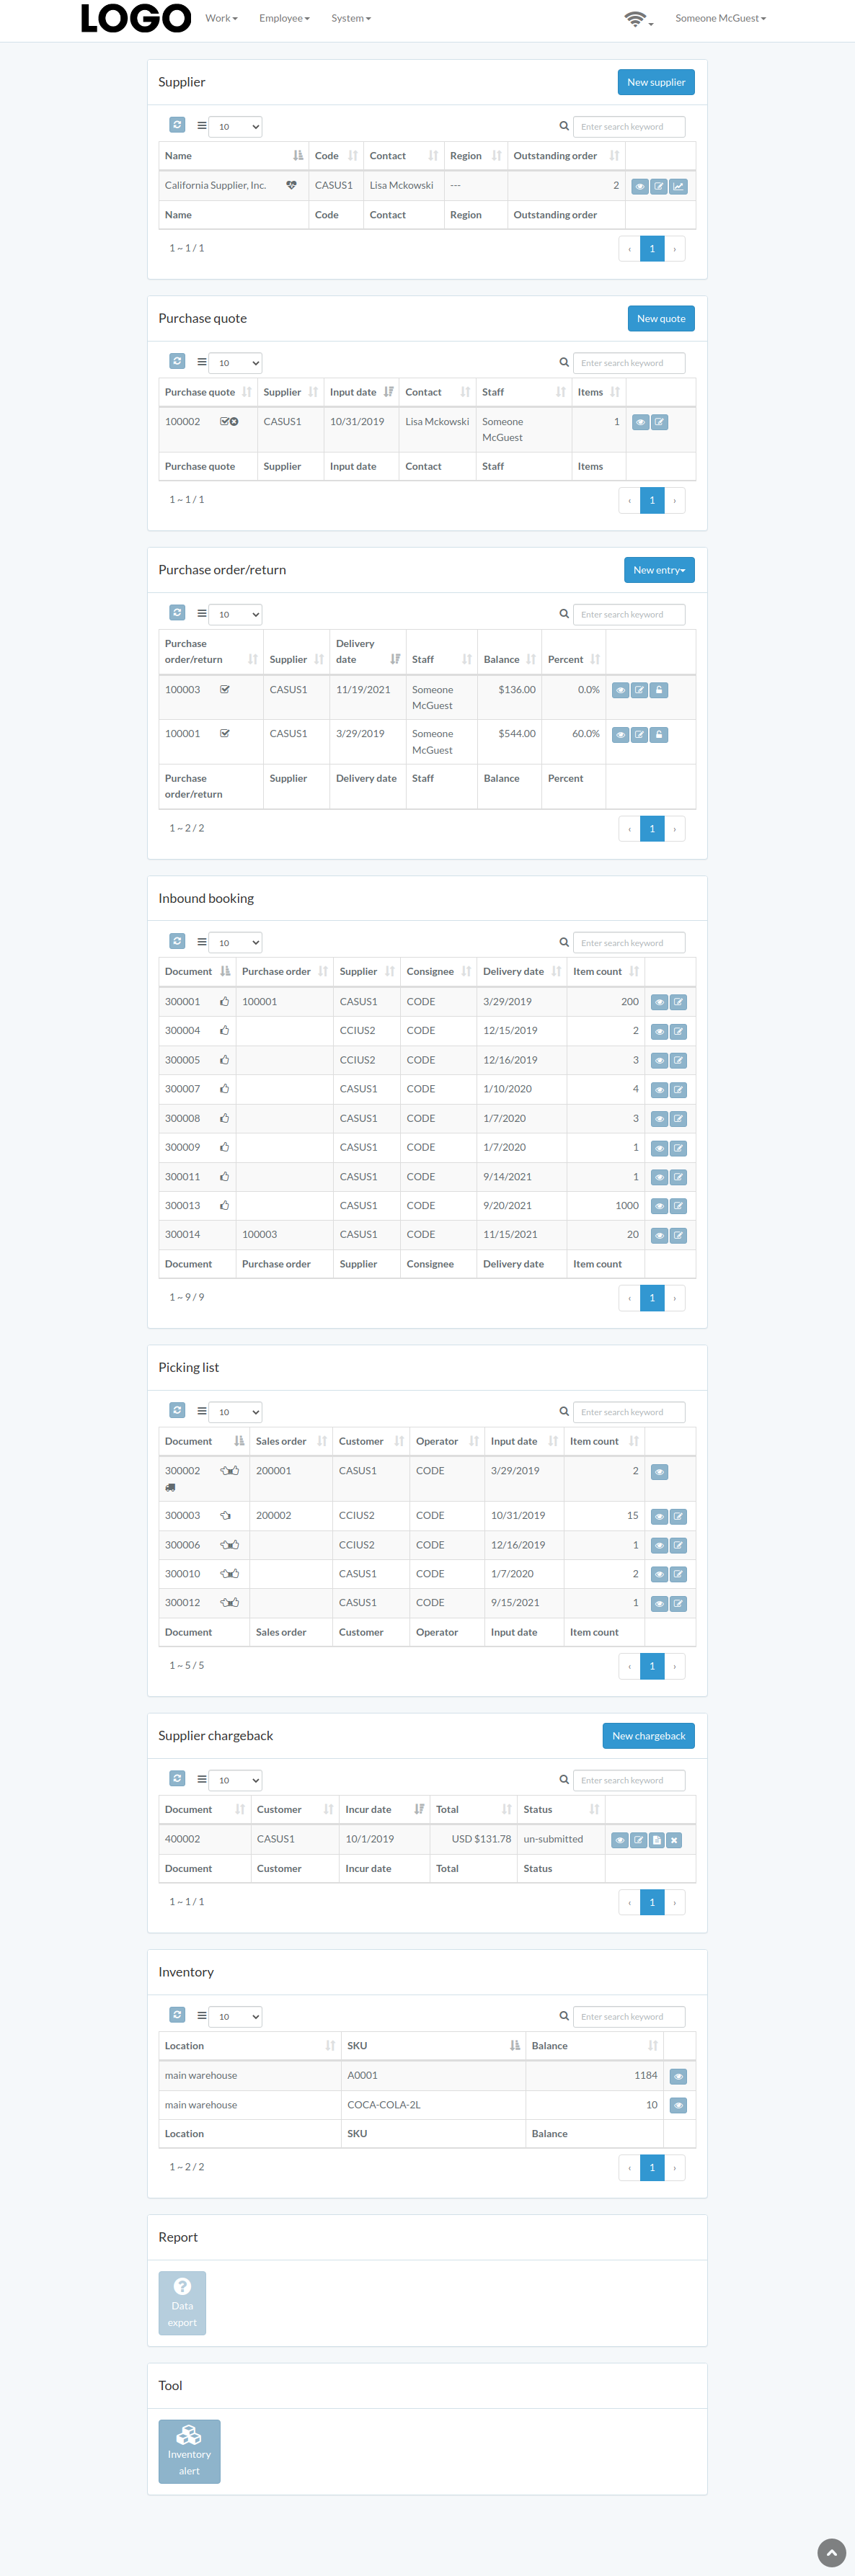
Following is an example dashboard
There are several major sections; Supplier, Quote, Order/Return, Inbound-booking, Picking-list, Charge, Inventory, Report, Tool.
Some sections may not be available from customization
Supplier
Introduction
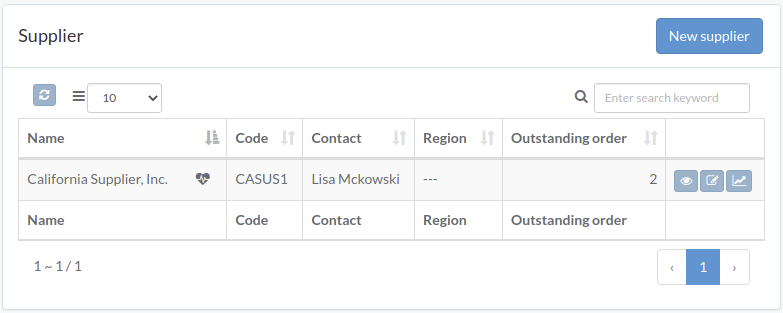
Following shows a sample window.
The chapter describes features available within the window.
Create Supplier
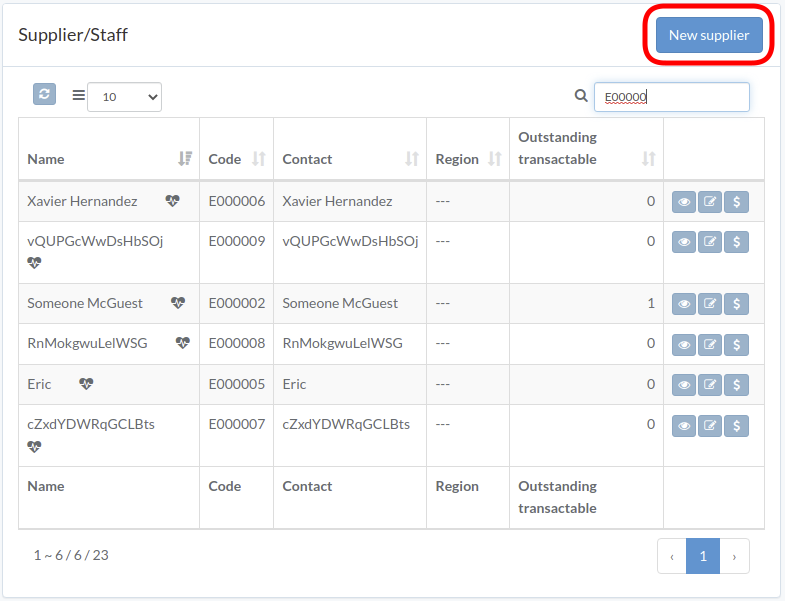
Click "New supplier" on upper right corner of Supplier/Staff table
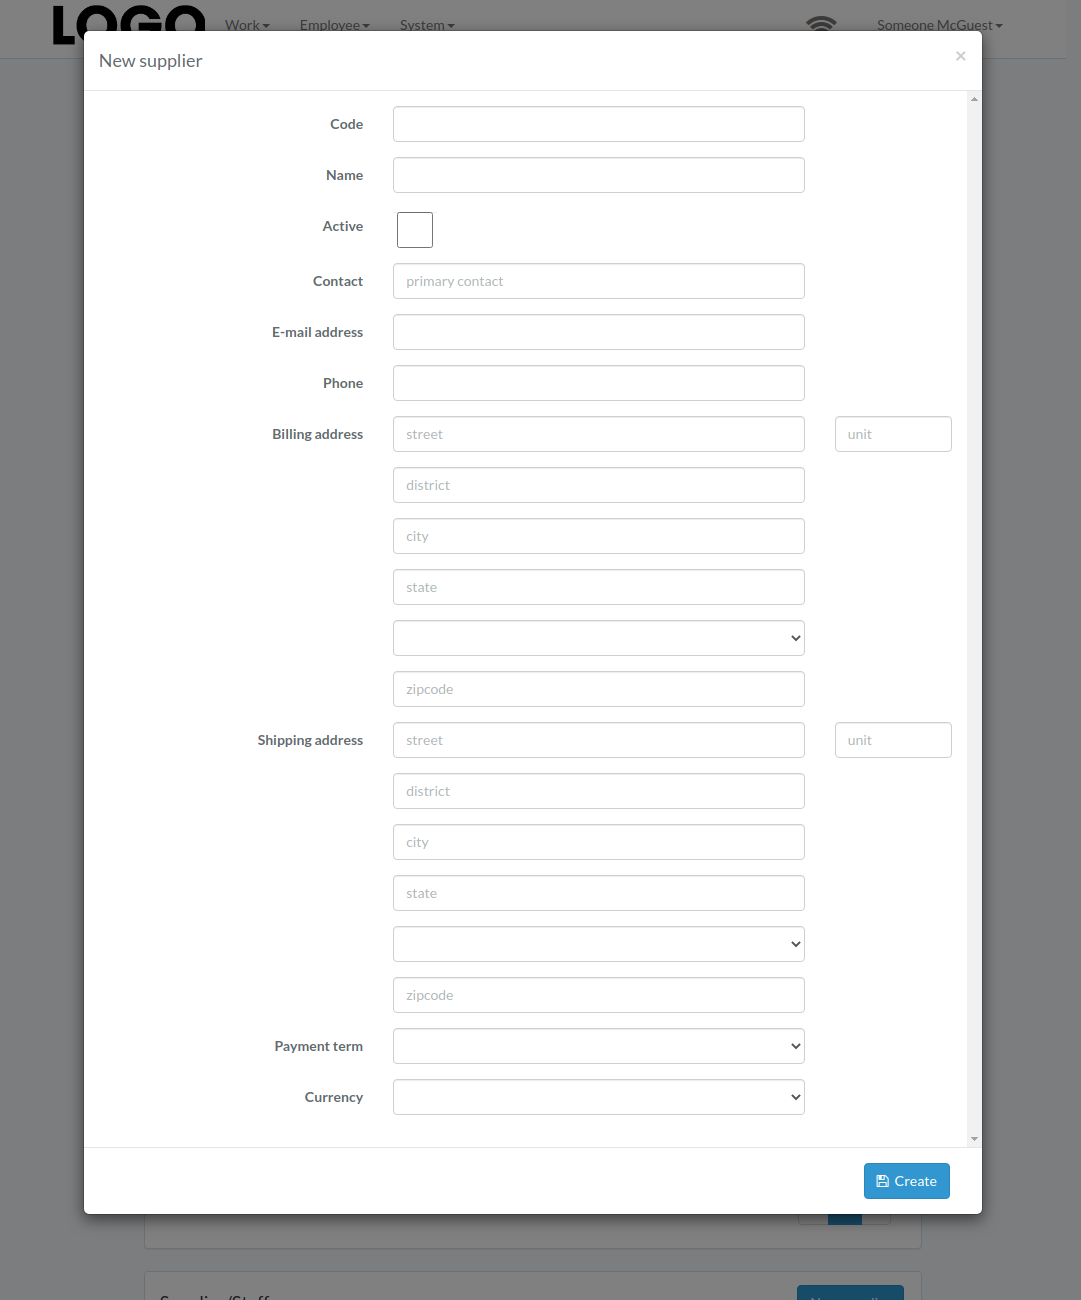
Enter supplier data, then click "Create".
Update Supplier
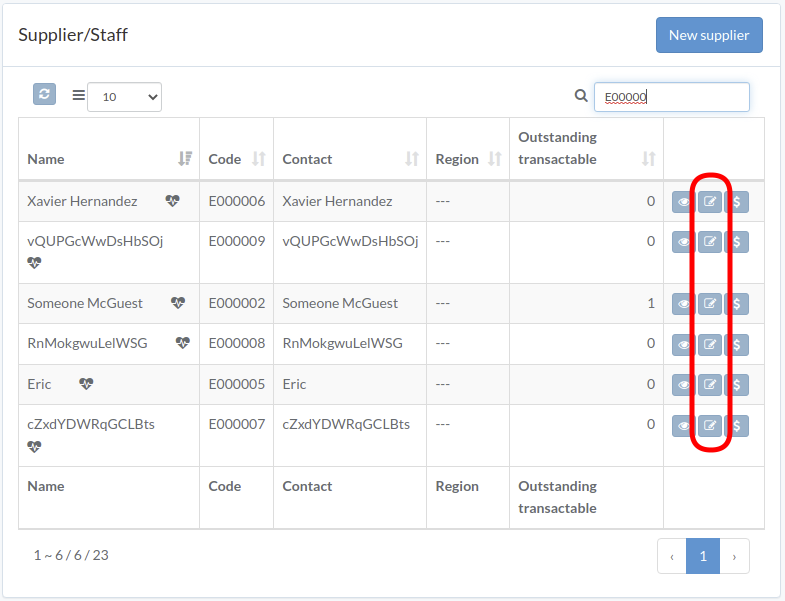
Click "Update" button on the right of supplier
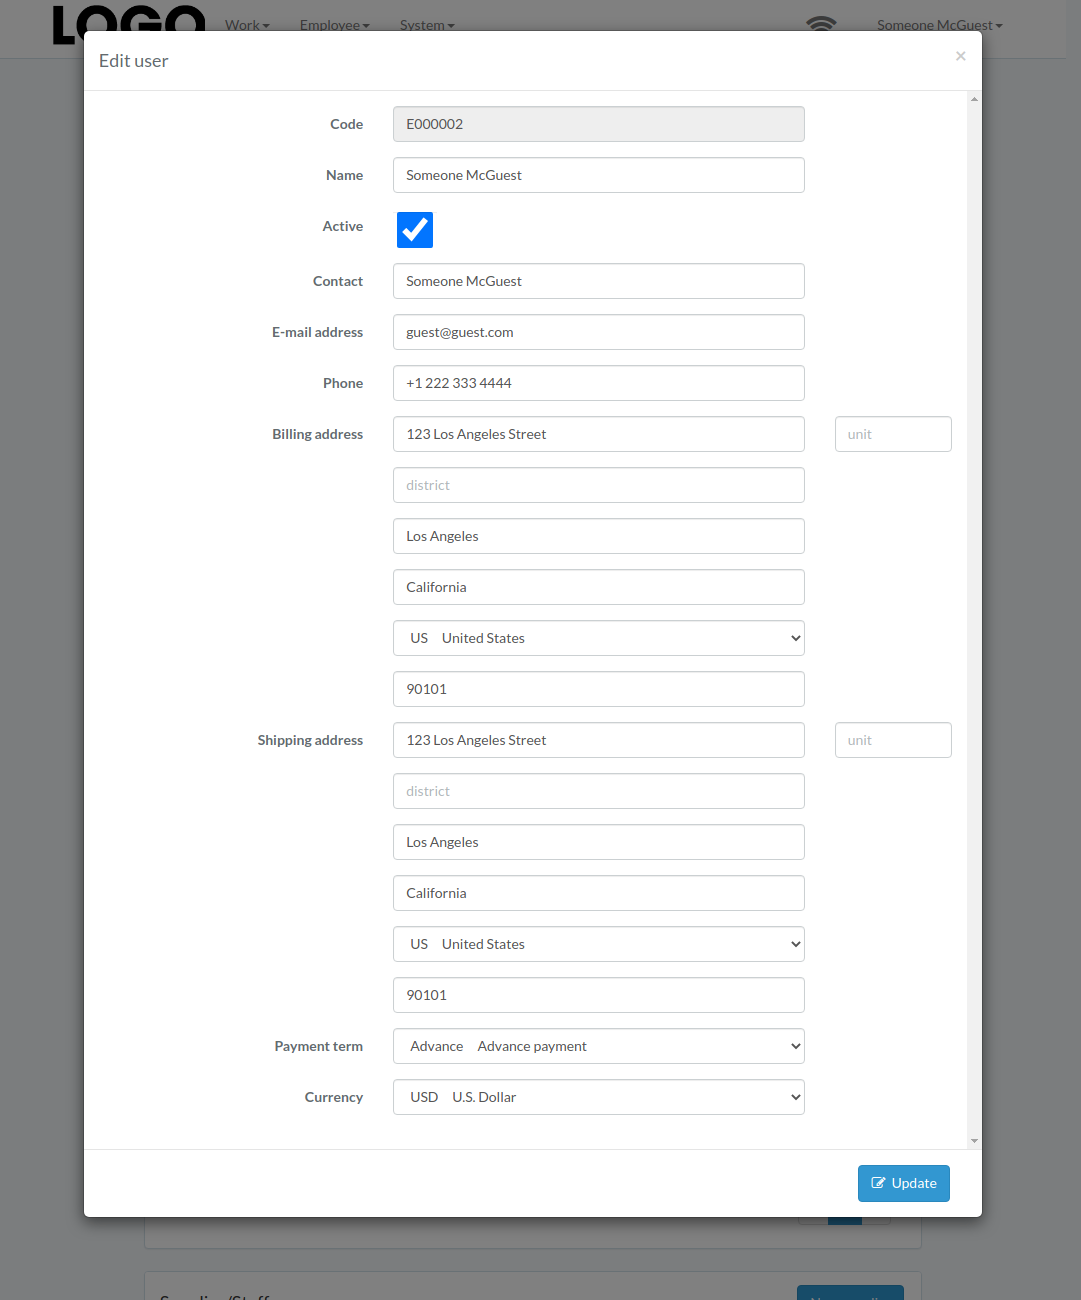
Update information, then click "Update".
View Supplier
Click "View" button on the right of supplier
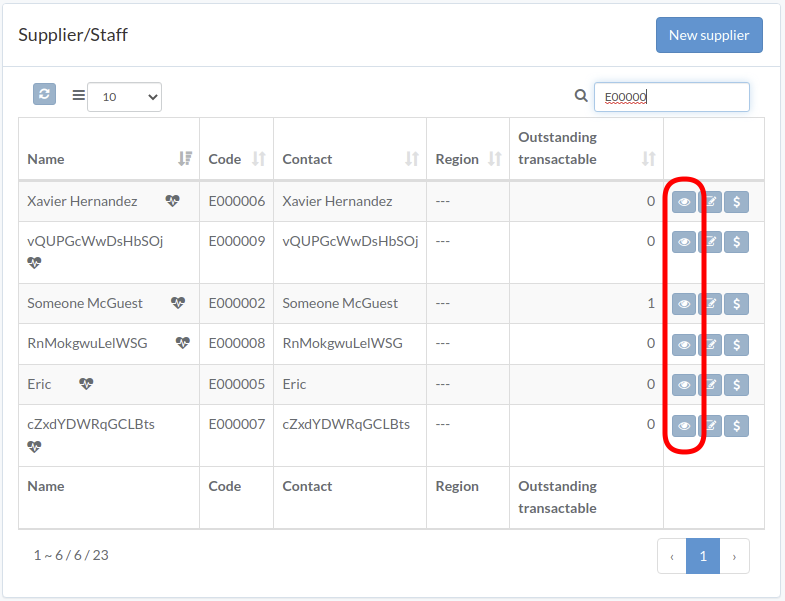
Supplier modal appears
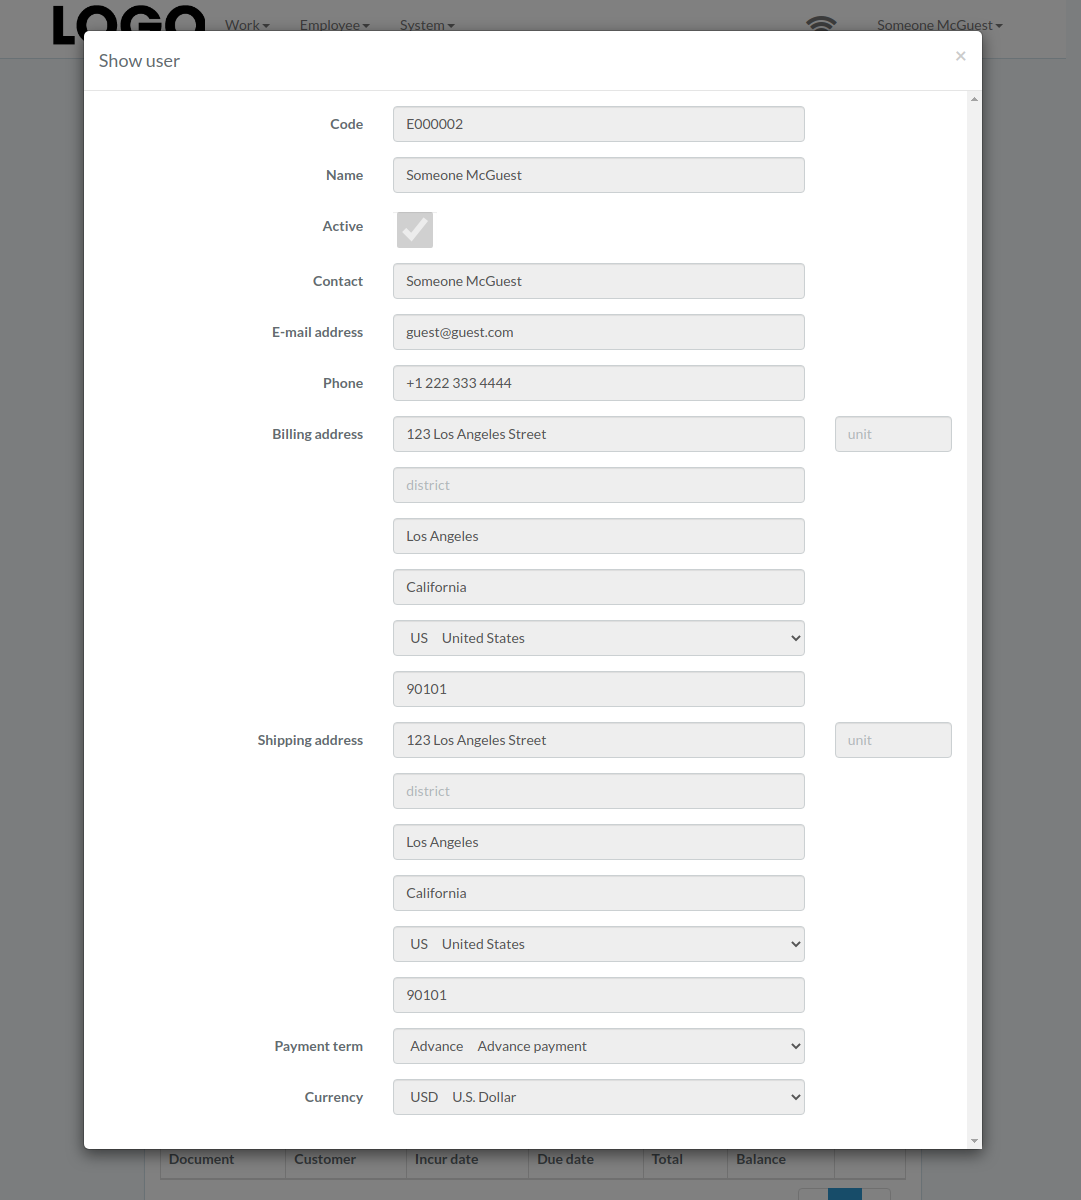
Supplier Performance
Quote
Introduction
Following shows a sample window.
The chapter describes features available within the window.
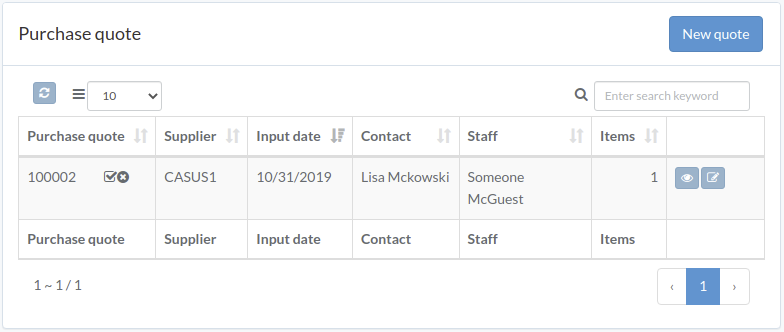
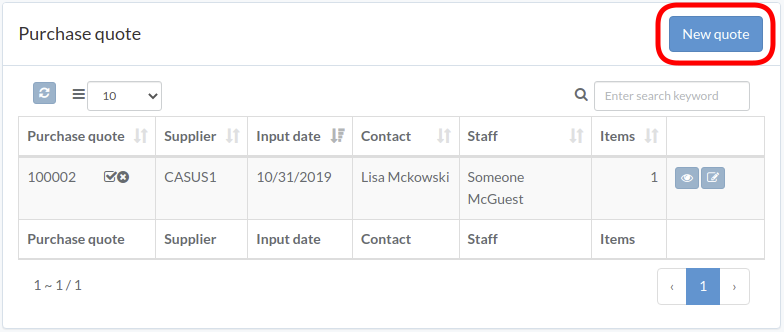
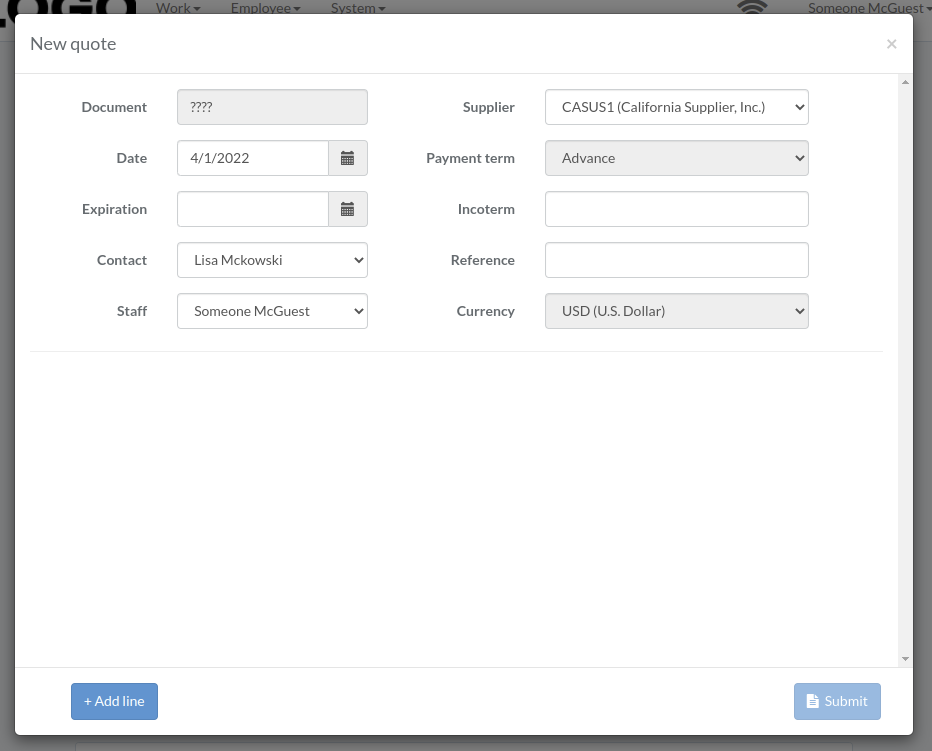
Create quote
Click "New quote" on upper right corner of quote table
Enter quote data. Click "+ Add line" if needed. Click "Submit" when done.
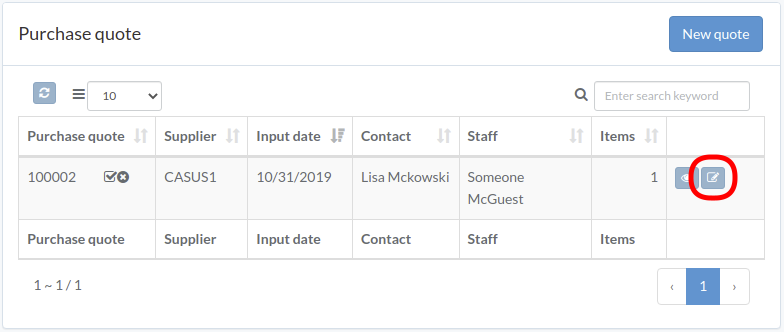
Update quote
Click "Update" button on right of the quote
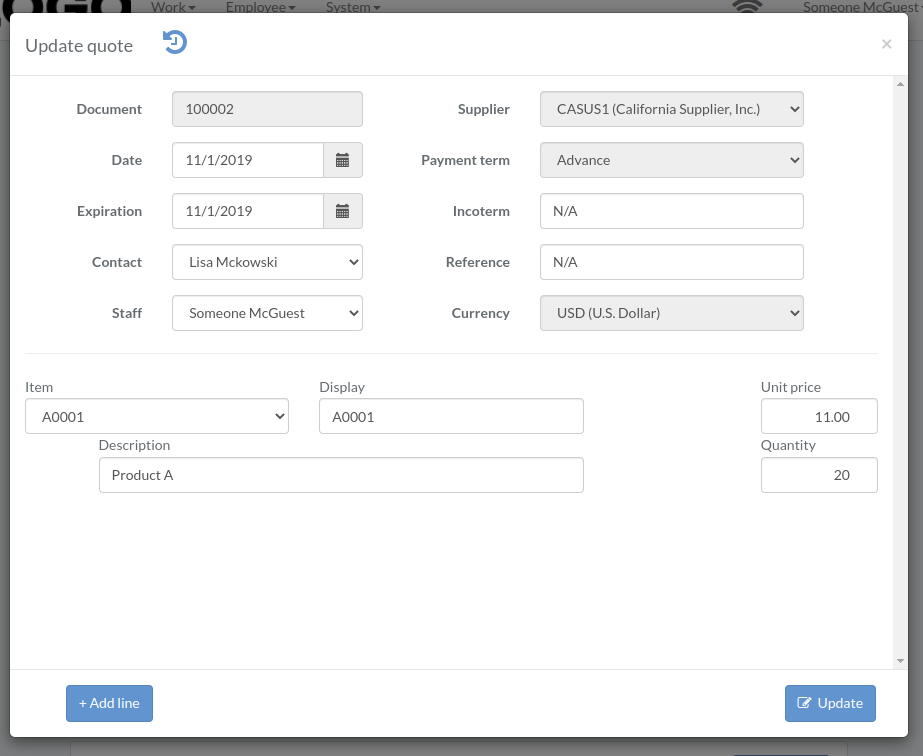
Update quote data, then click "Update"
Click "+ Add line" if needed
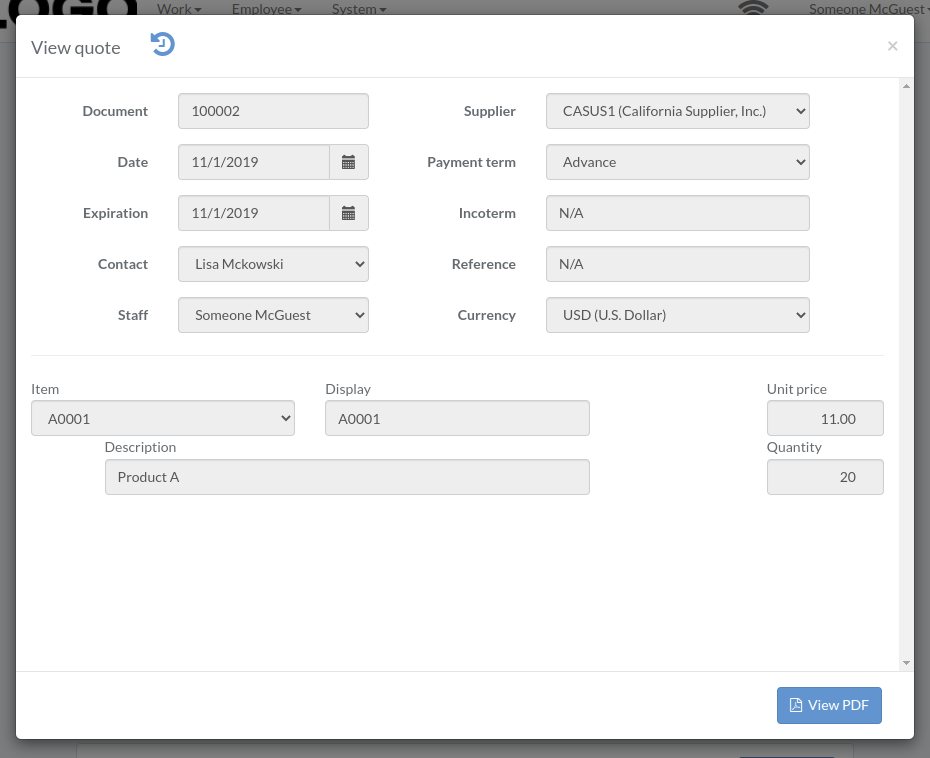
View quote
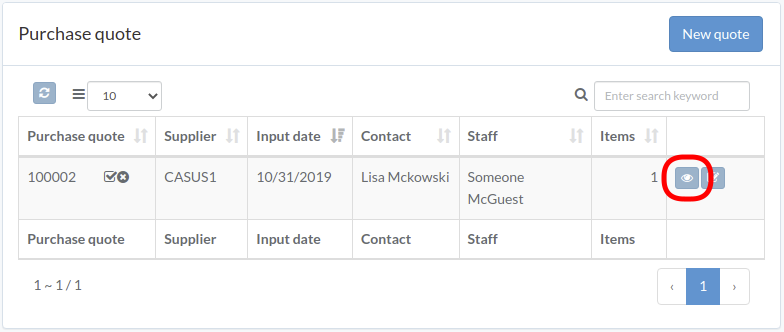
Quote modal appears
Approve quote
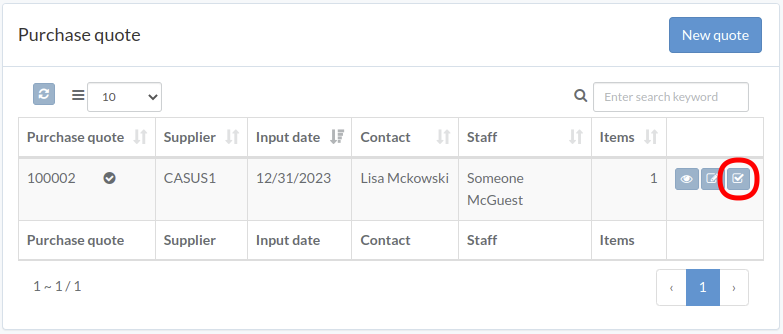
Click "Approve" button on the right of quote
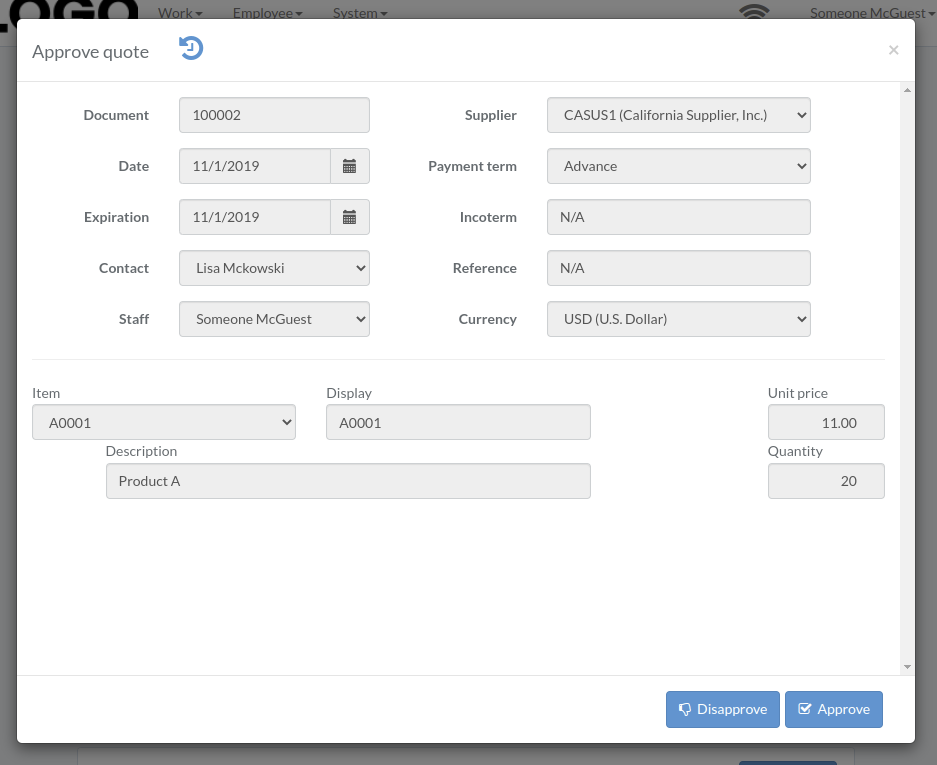
When quote modal appears, click "Approve" or "Disapprove" button to confirm
Order
Introduction
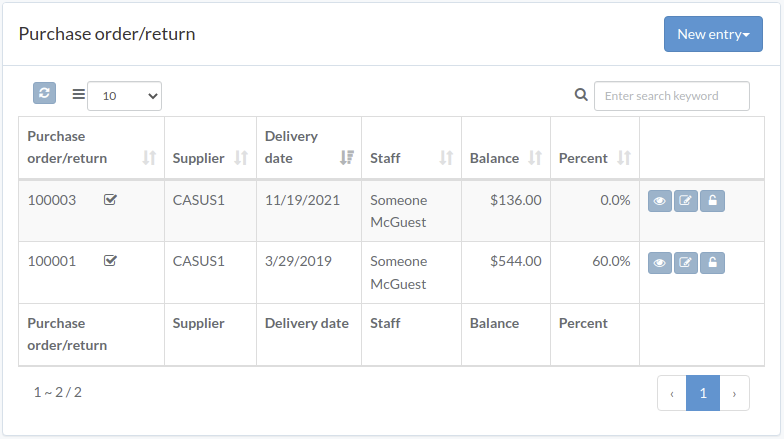
Following shows a sample window.
The chapter describes features available within the window.
Create Order
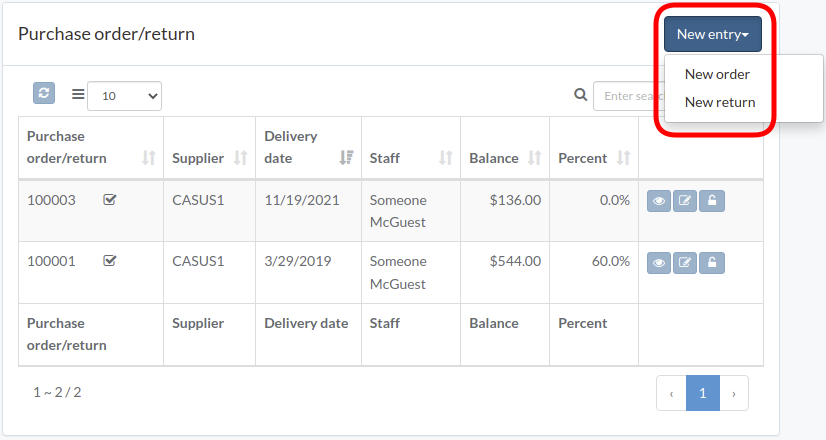
Click "New entry", and select order or return
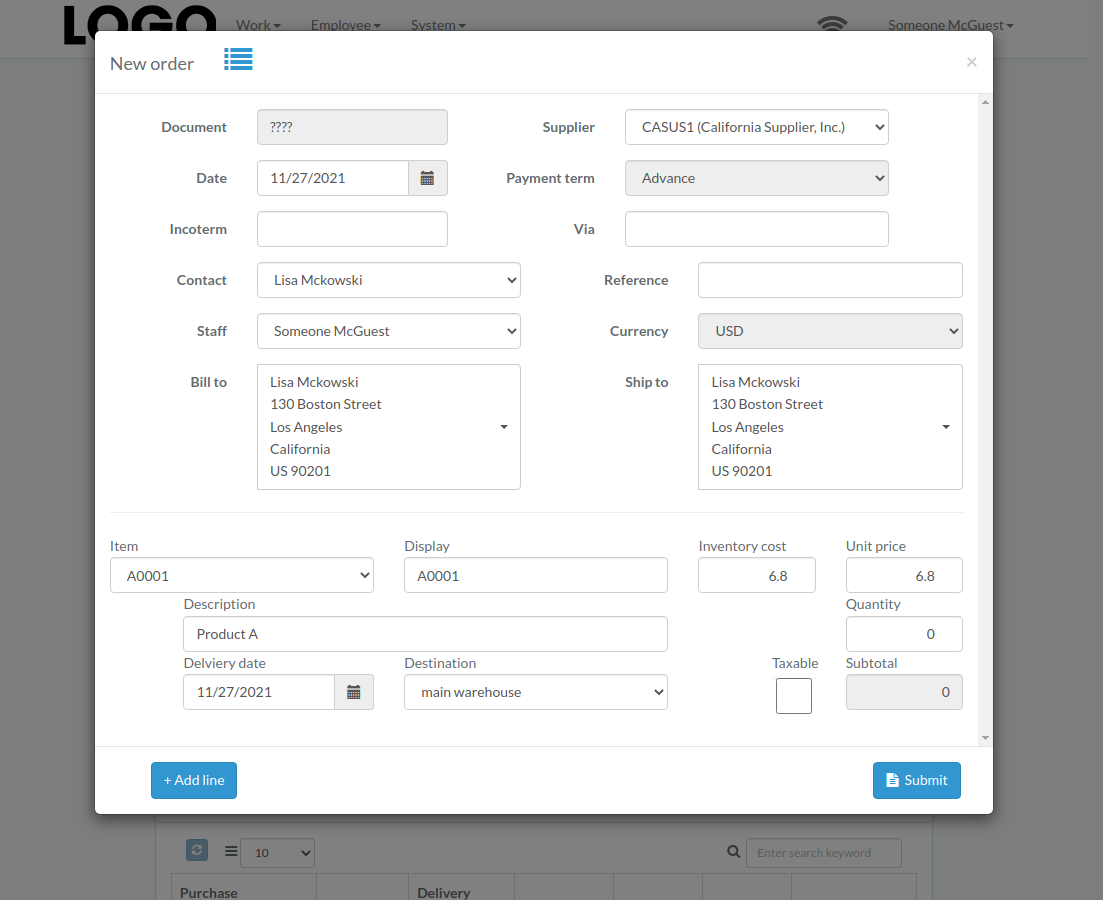
Enter order/return data, then click "Submit"
Click "+ Add line" if needed
Update Order
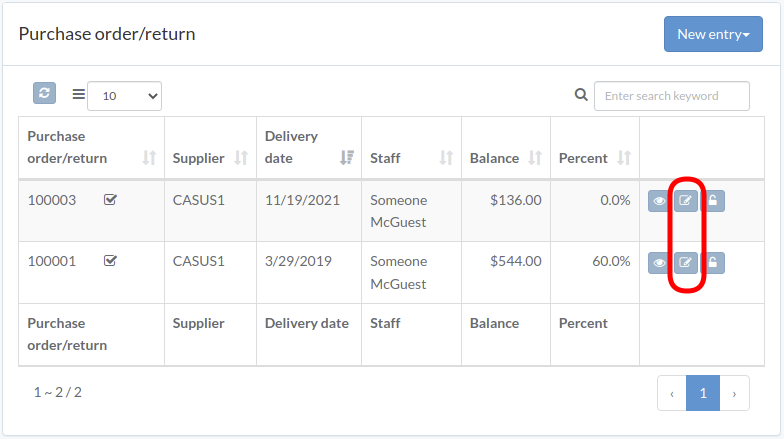
Click "Update" button on right of the order/return
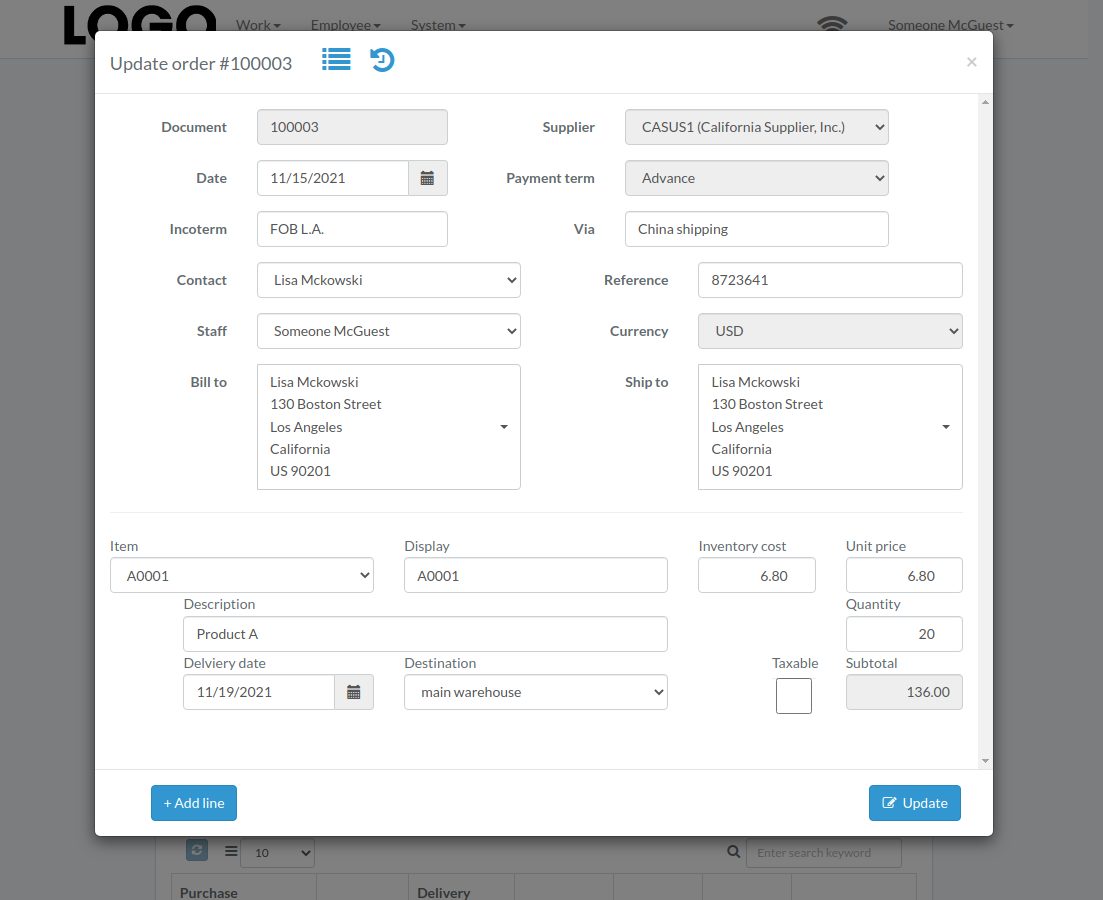
Update order/return data, then click "Update"
Click "+ Add line" if needed
View Order
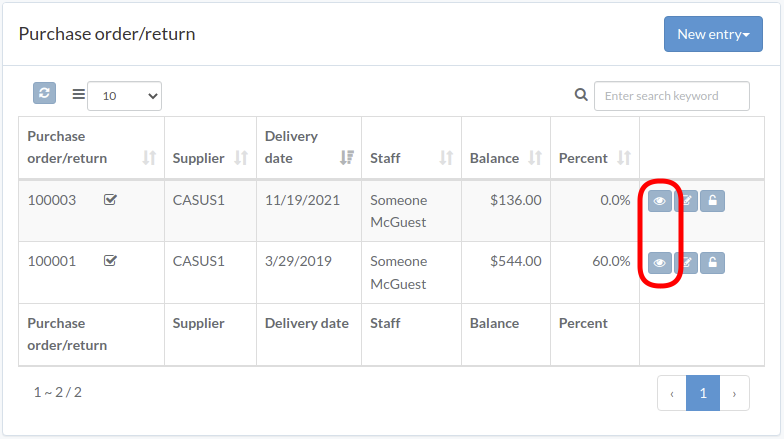
Order/return modal appears

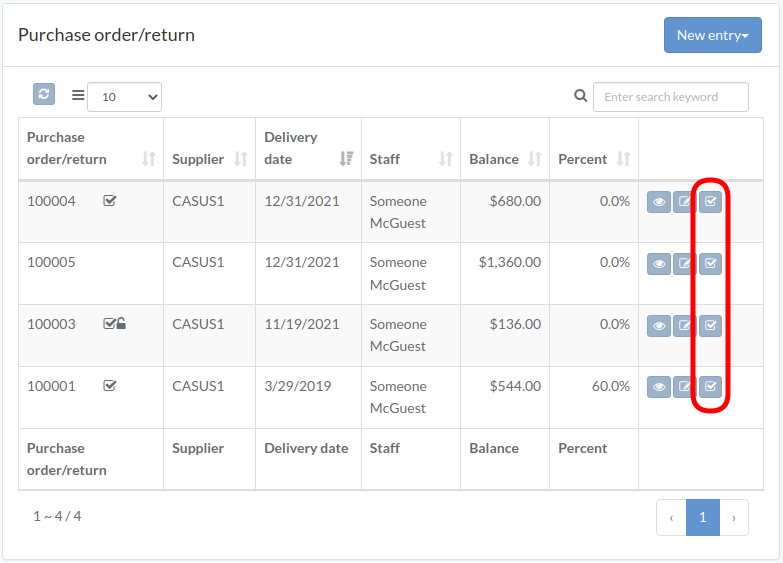
Approve Order
Click "Approve" button to right of the order/return
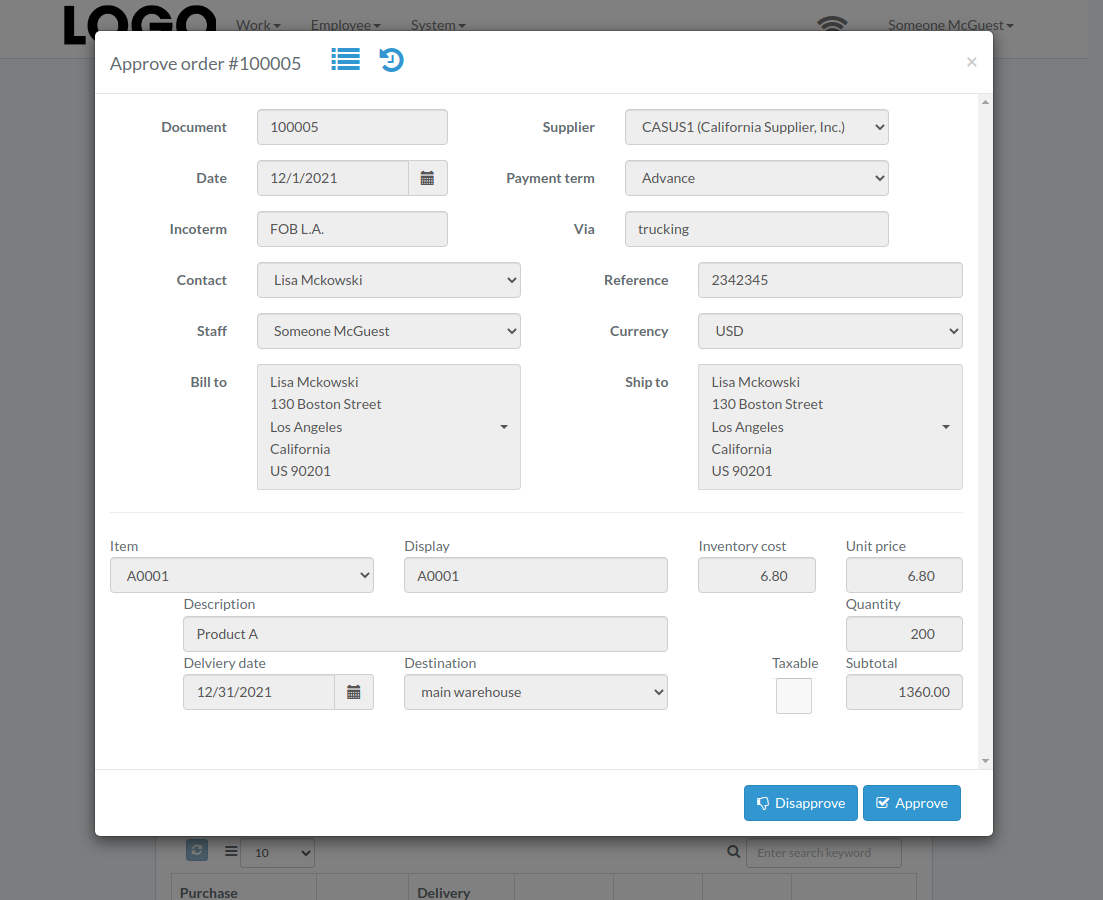
When order/return modal appears, click "Approve" or "Disapprove" button to confirm
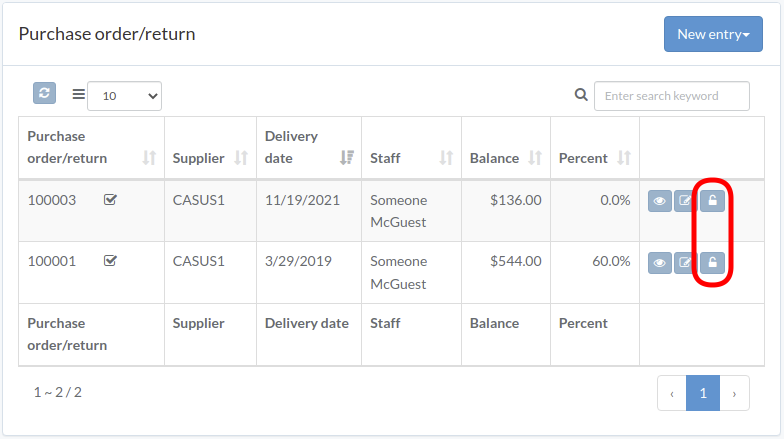
Release Order
Click "Release" button to right of the order/return
An email with order/return attachment is sent to vendor
Inbound booking
Introduction
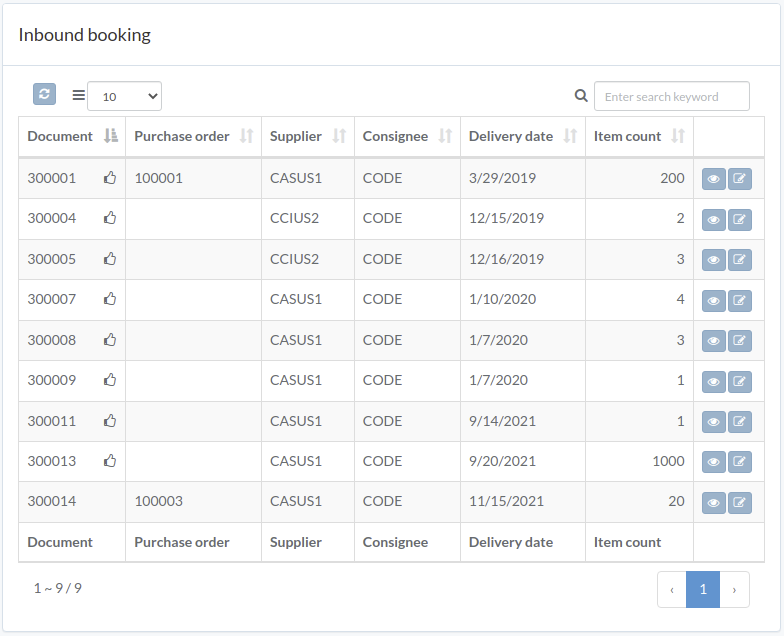
Following shows a sample window.
The chapter describes features available within the window.
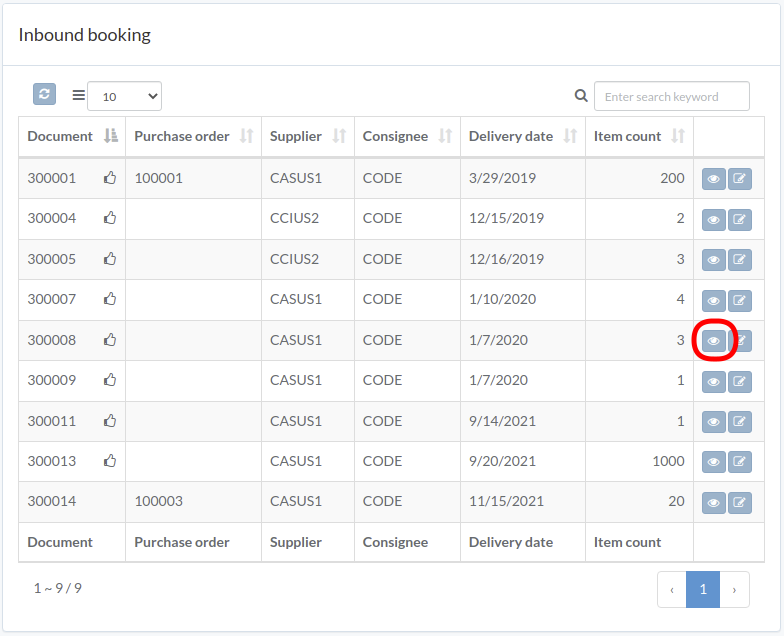
View order
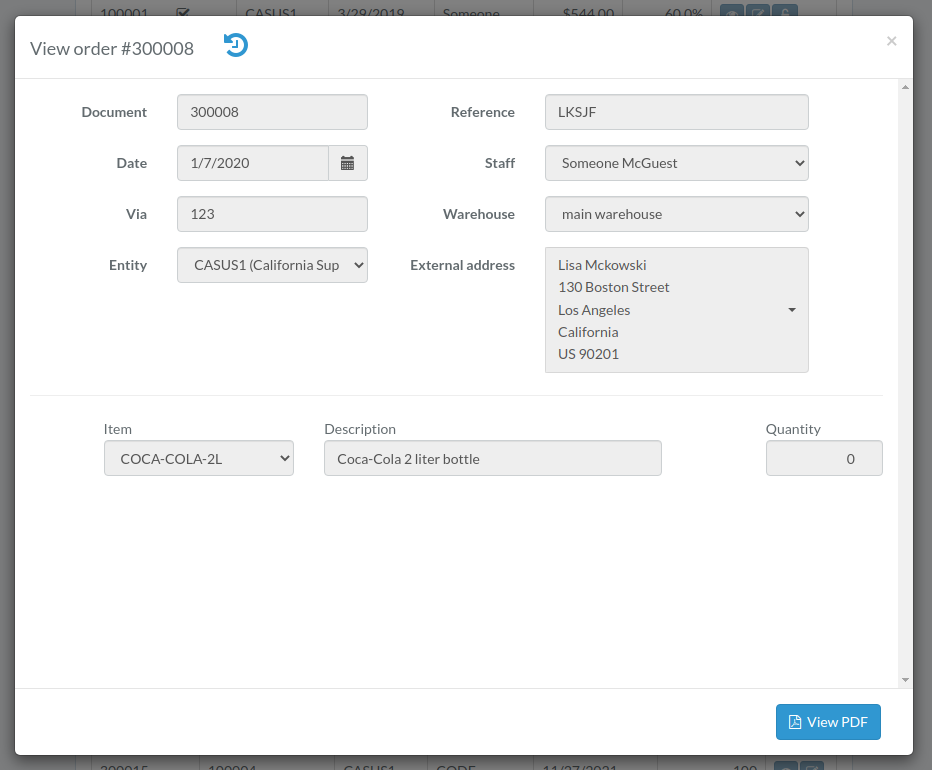
Click "View" button on the right of order
Order modal appears
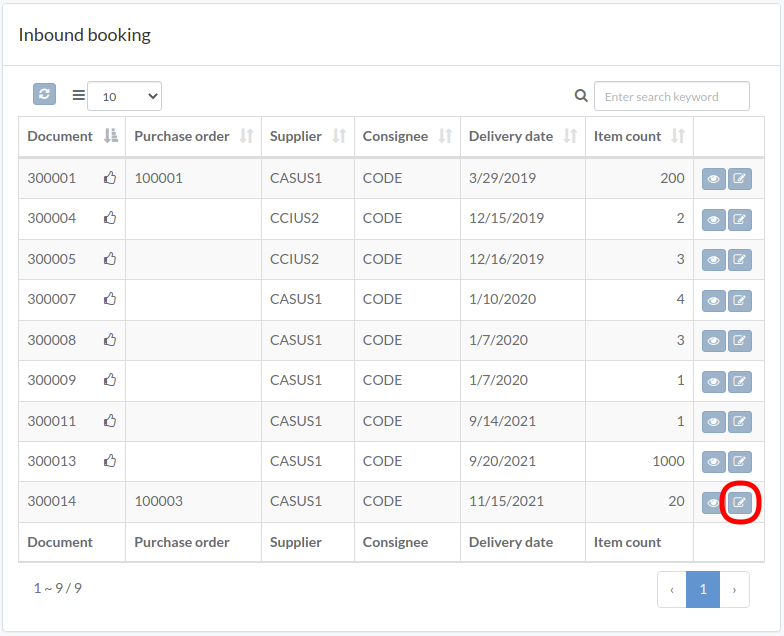
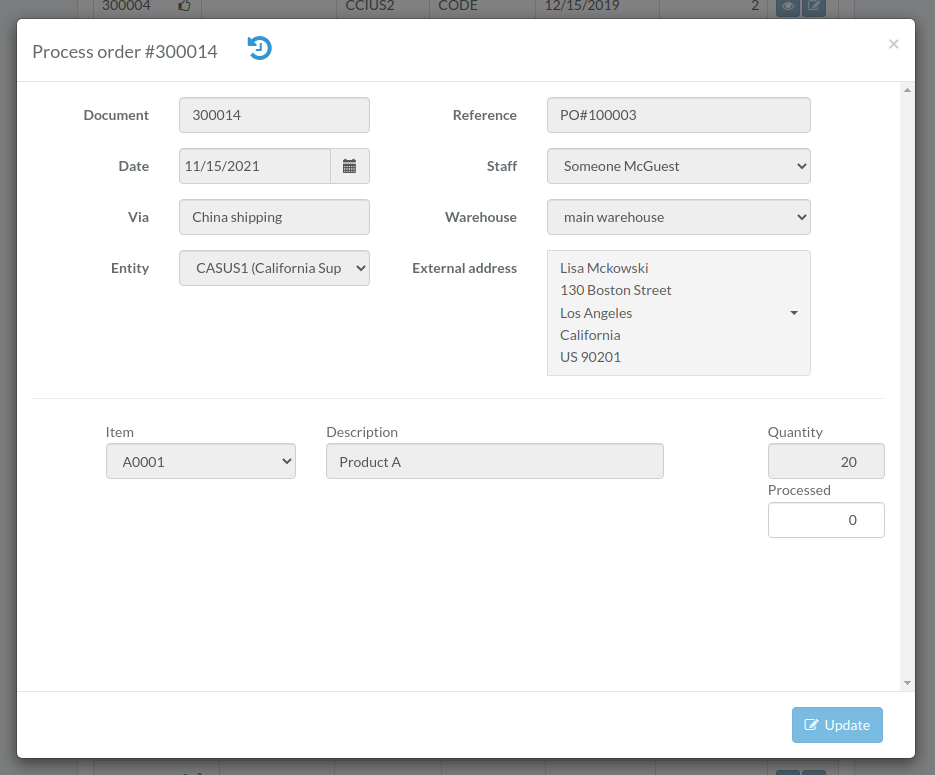
Process order
Click "Process" button on the right of order
Enter order data and then click "Update"
Picking list
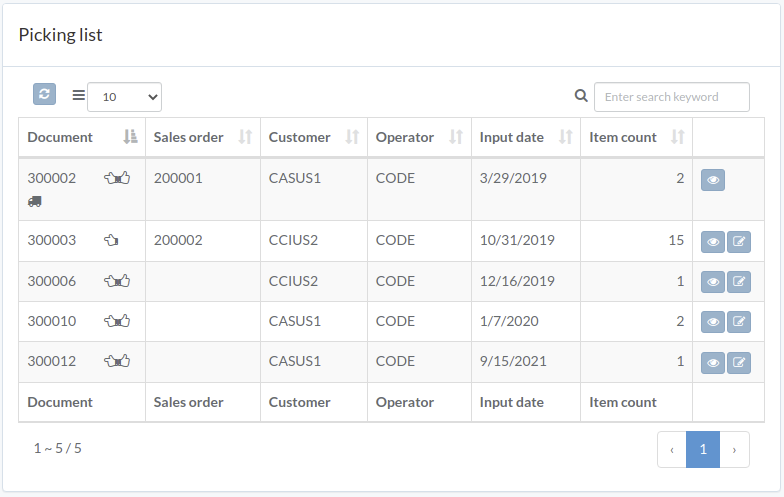
Introduction
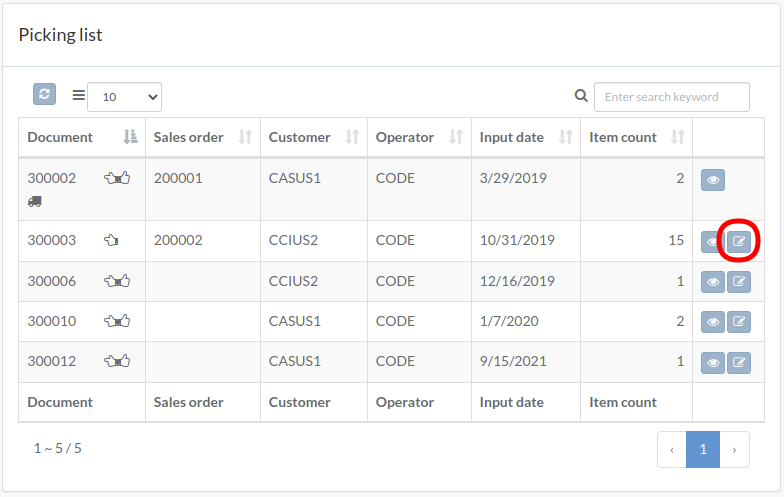
Following shows a sample window.
The chapter describes features available within the window.
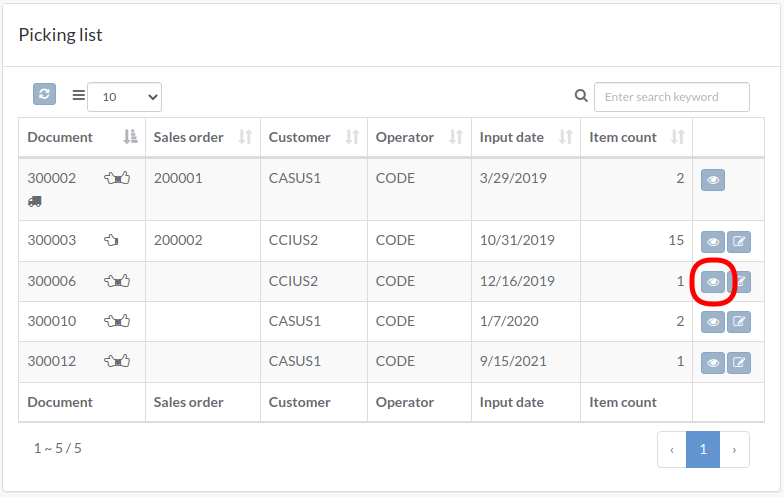
View picking list
Click "View" button on the right of order
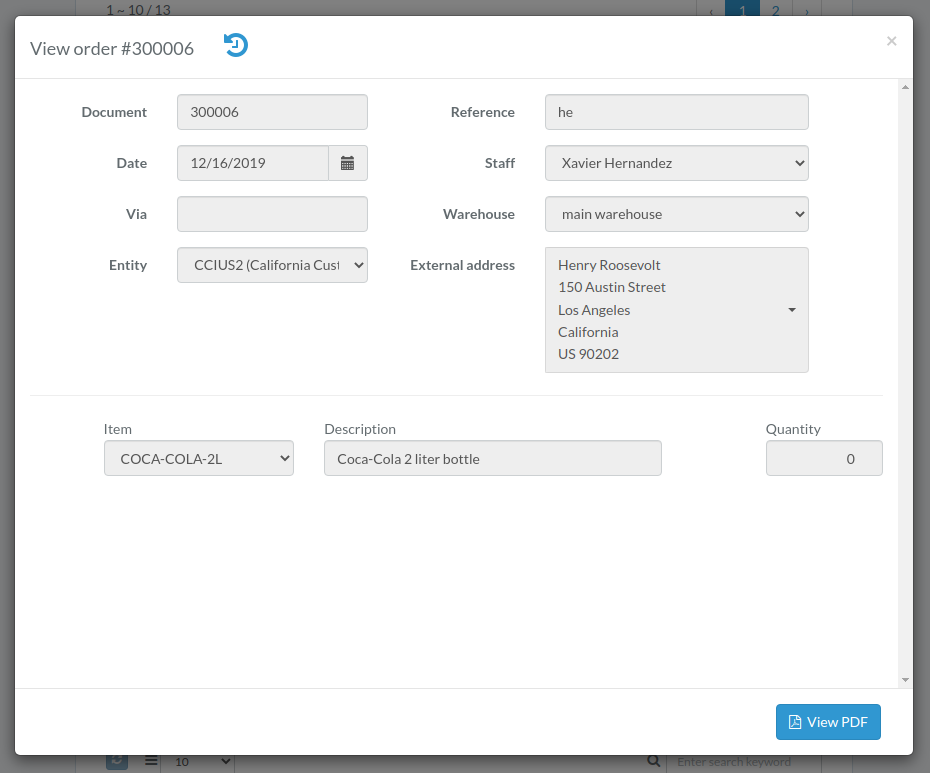
Order modal appears
Process picking list
Click "Process" button on the right of order
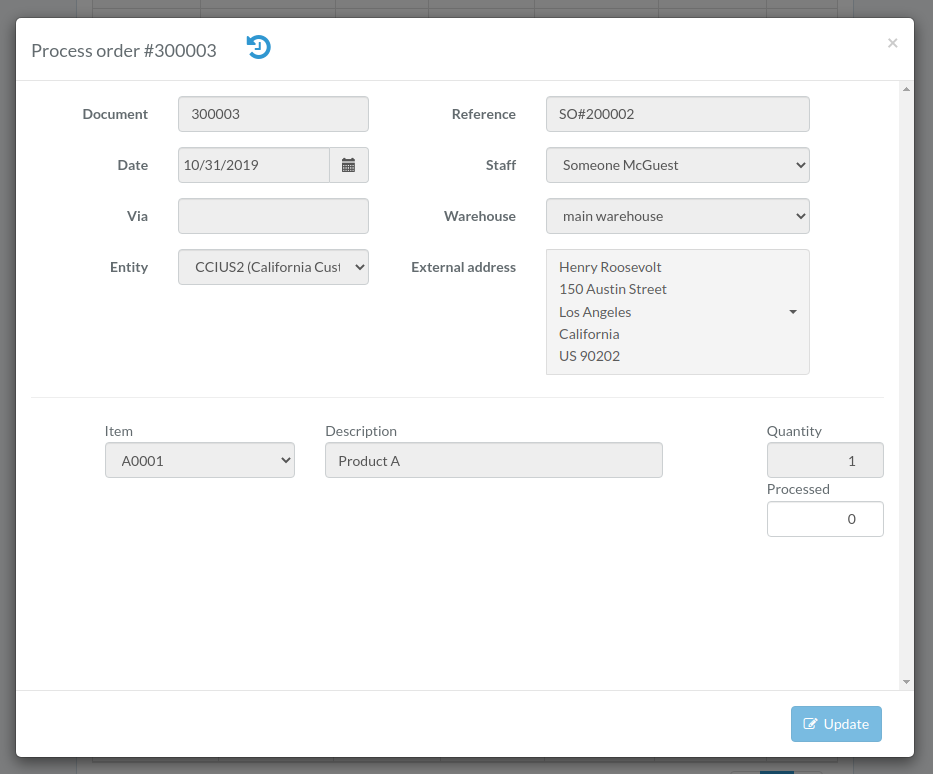
Enter order data and then click "Update"
Charge
Introduction
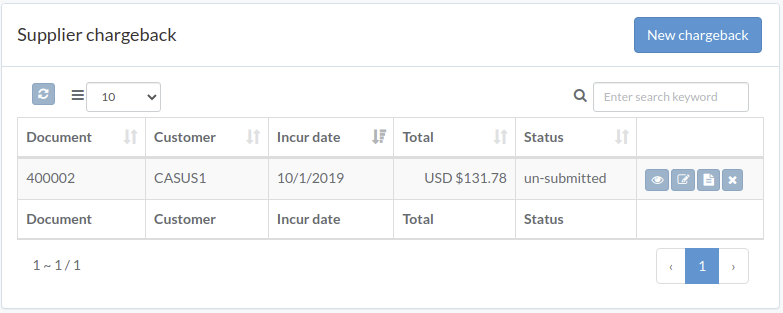
Following shows a sample window.
The chapter describes features available within the window.
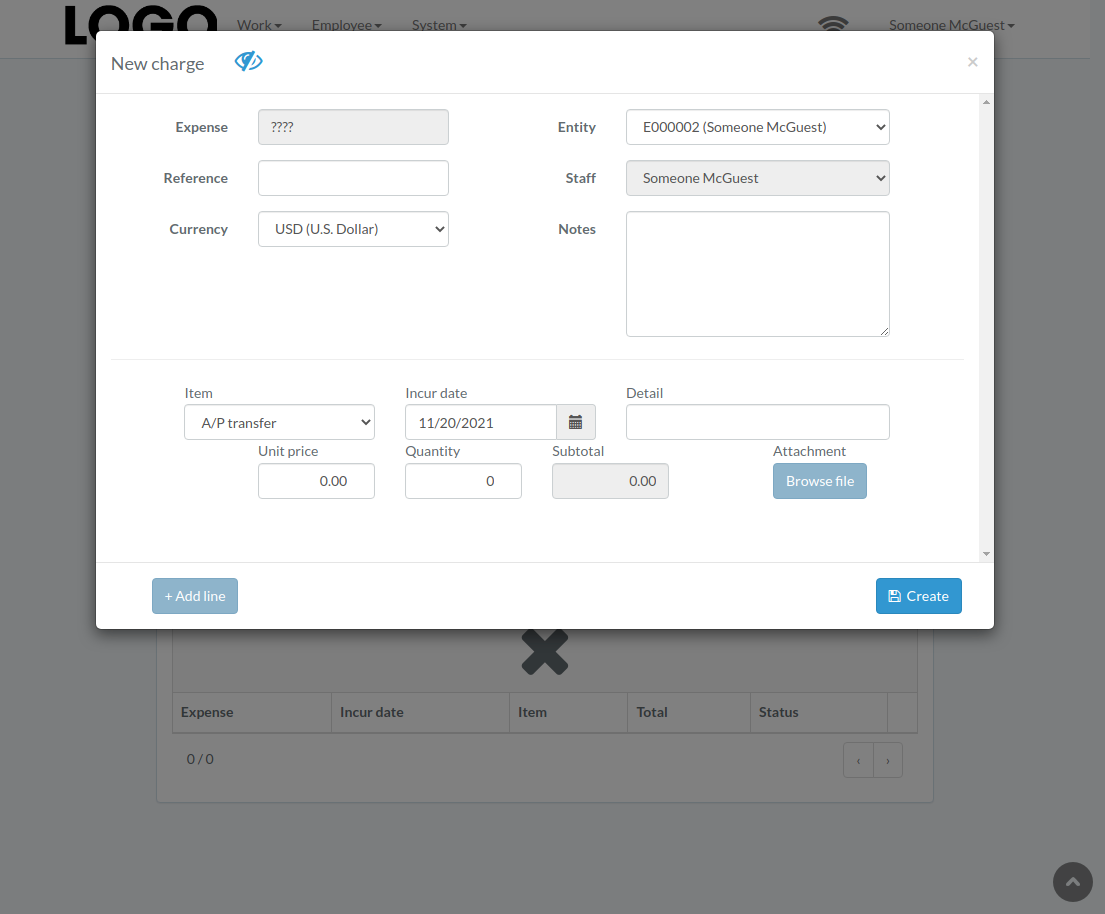
Create Expense
Click "New expense" on upper right corner of expense table
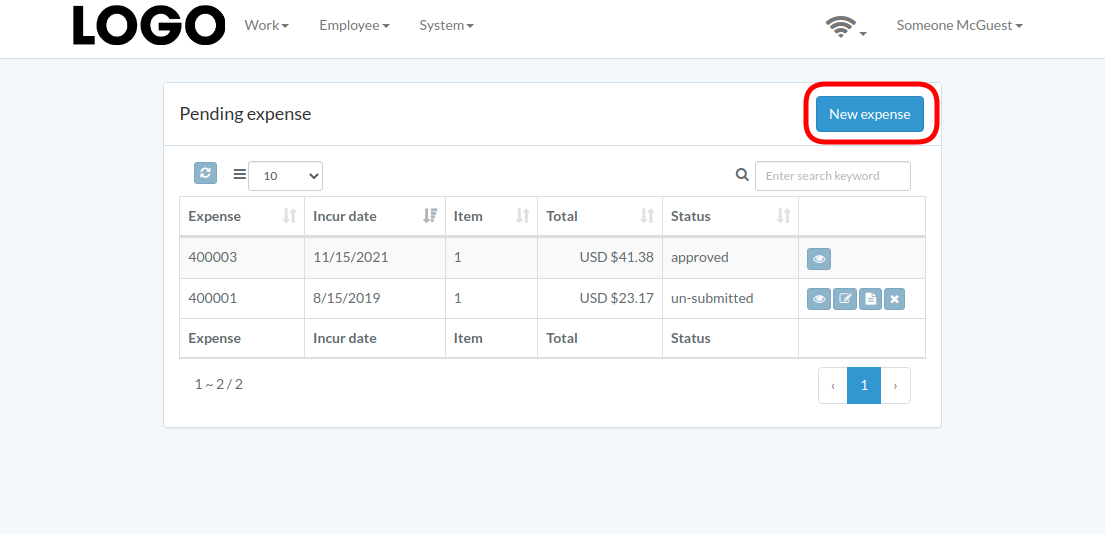
When expense modal appears, enter all information and click "Create" button.
Click "+ Add line" if needed
Update Expense
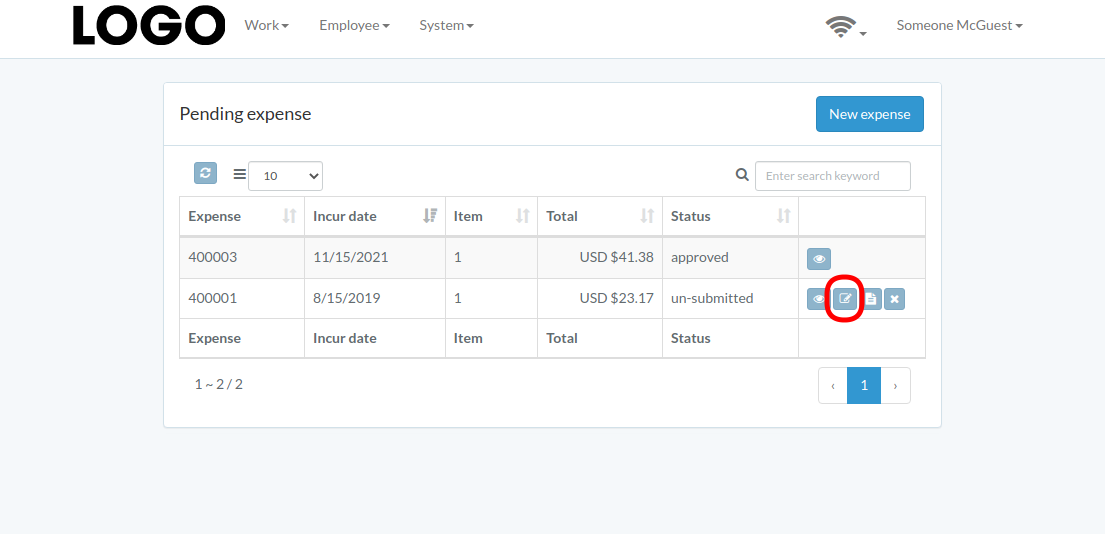
Click "Update" button on the right of expense
If no "Update" button, the expense can not be updated.
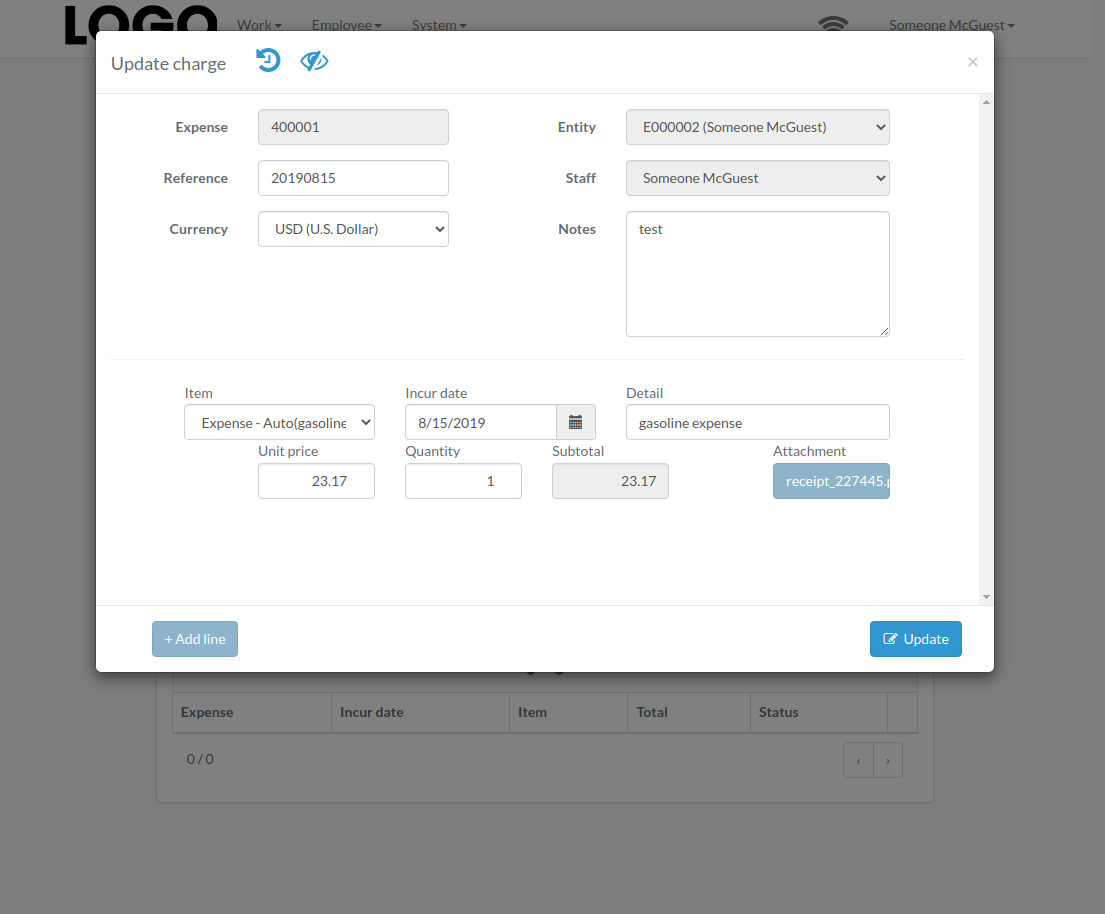
when expense modal appears, update expense data and click "Update" button
Click "+ Add line" if needed
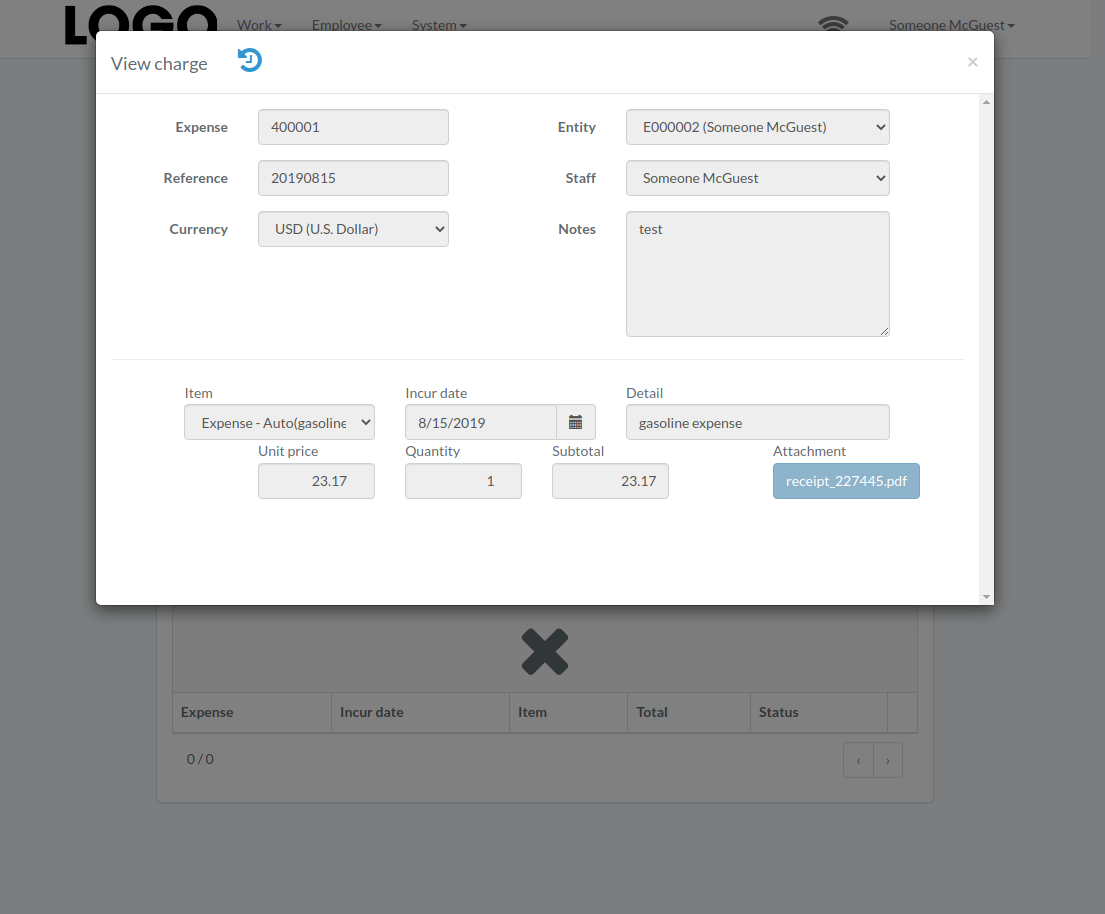
View Expense
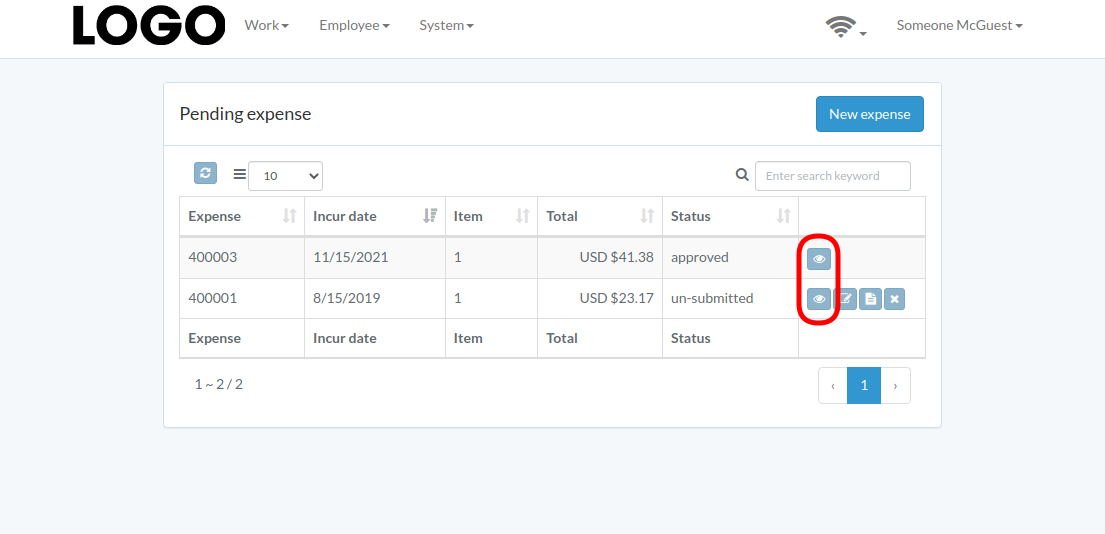
Expense modal appears
Submit Expense
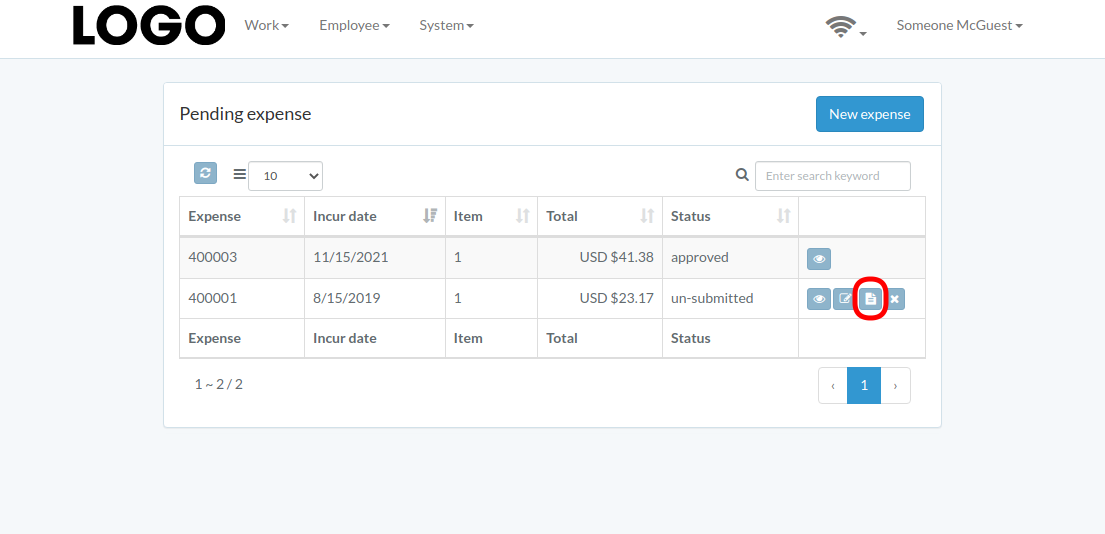
Click "Submit" button on the right of expense
If no "Submit" button, the expense can not be submitted.
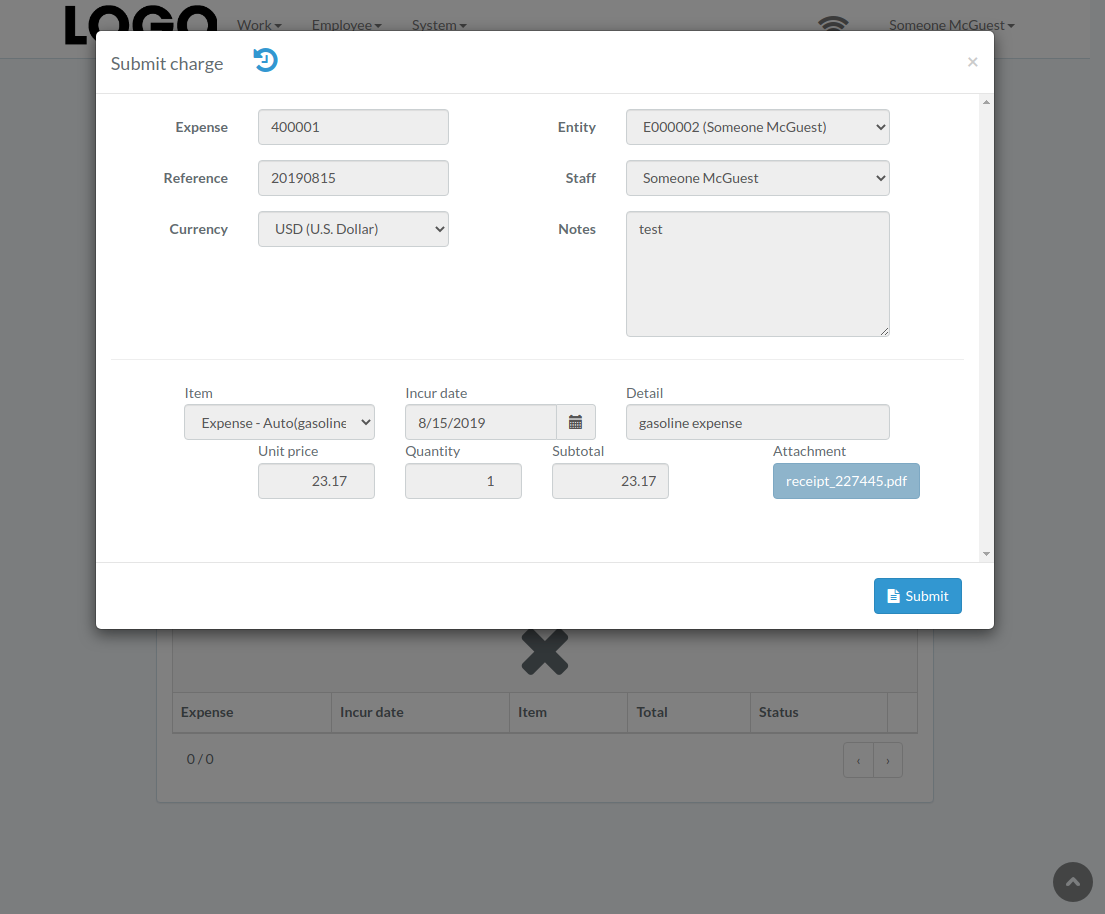
When expense modal appears, click "Submit" button to confirm submission
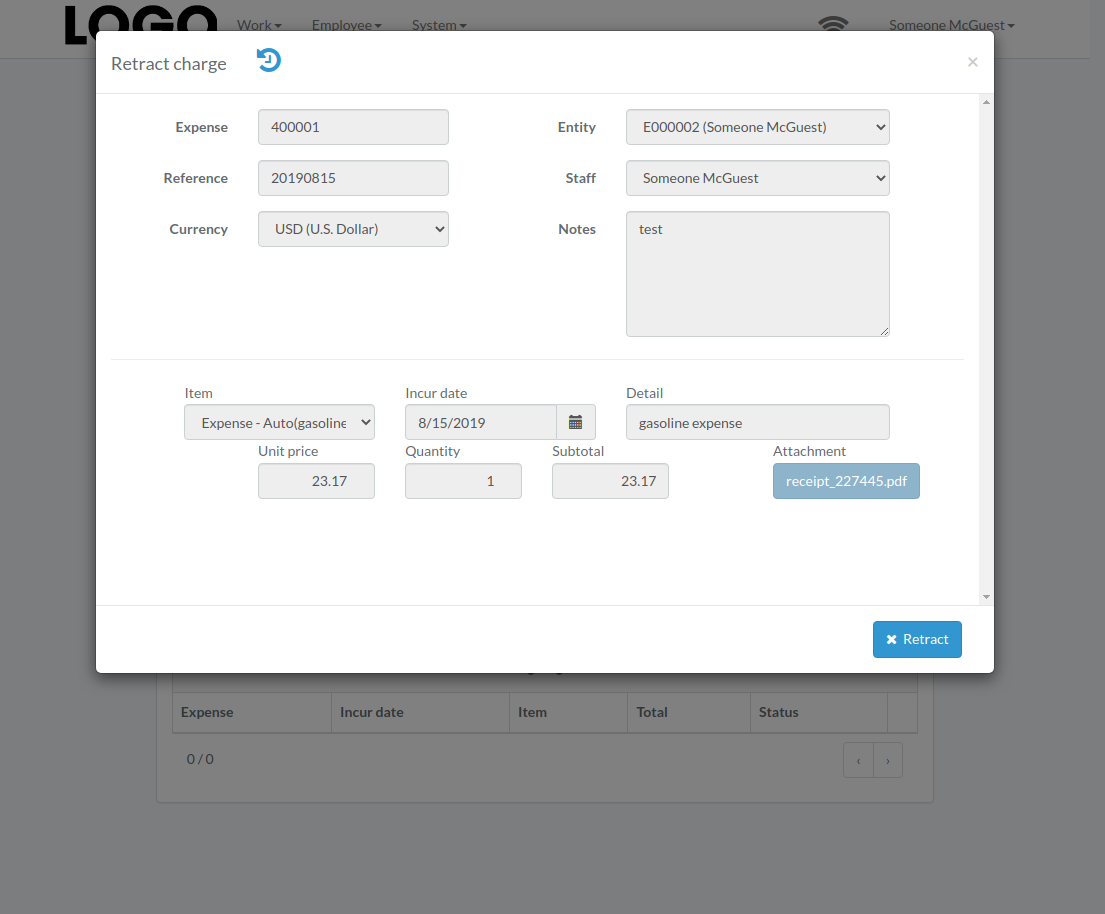
Retract Expense
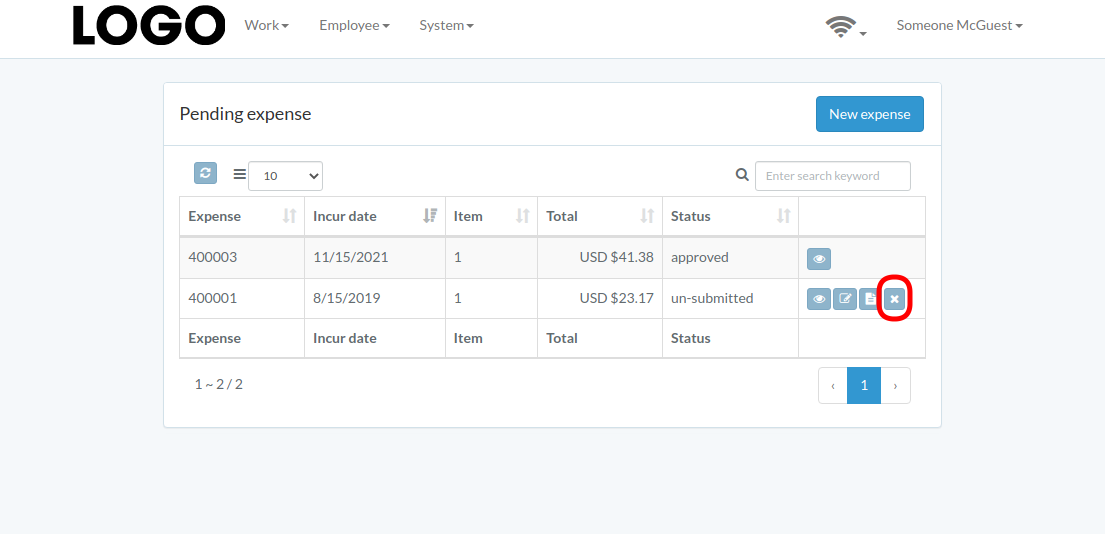
Click "Retract" button on the right of expense
If no "Retract" button, the expense can not be retracted.
When expense modal appears, click "Retract" button to confirm retraction
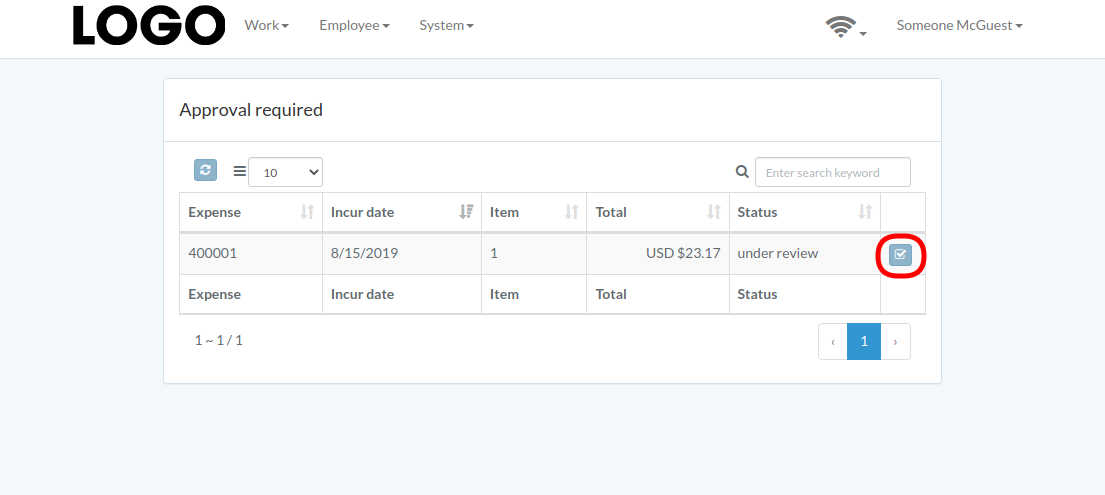
Approve Expense
Click "Approve" button on the right of expense
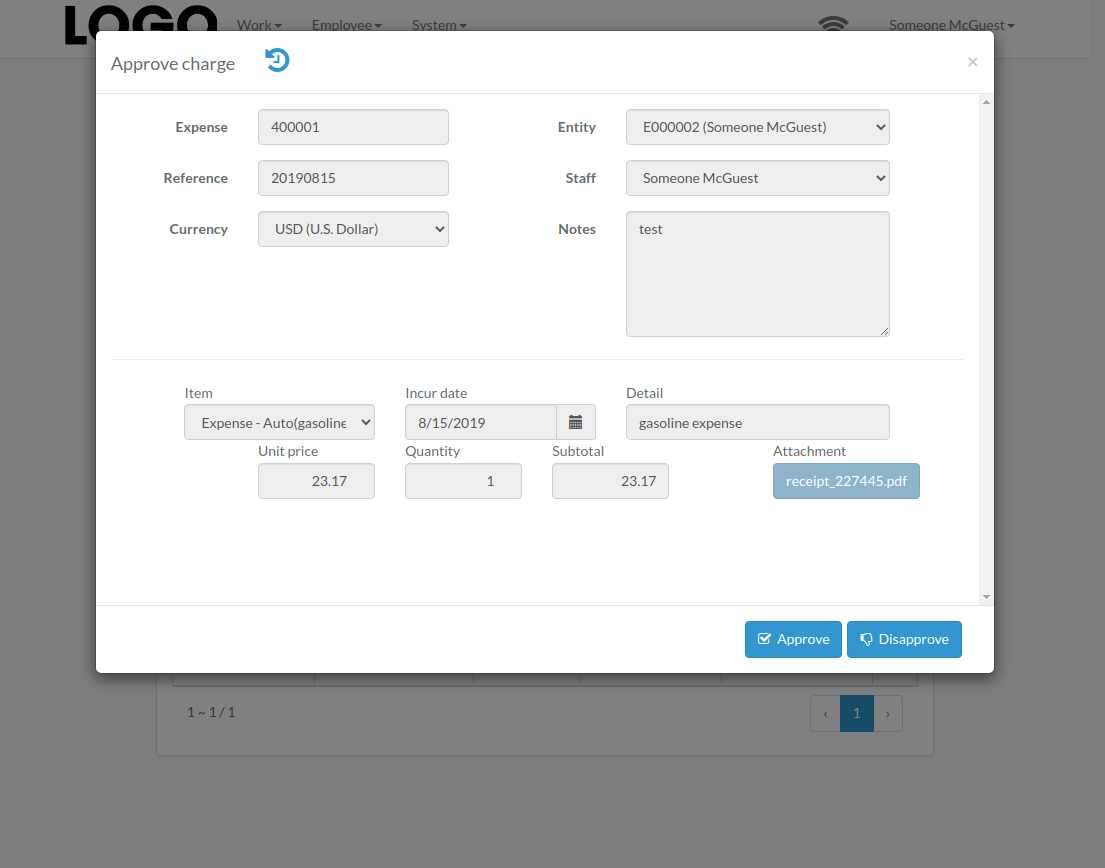
When expense modal appears, click "Approve" or "Disapprove" button to confirm
Inventory
Introduction
Following shows a sample window.
The chapter describes features available within the window.
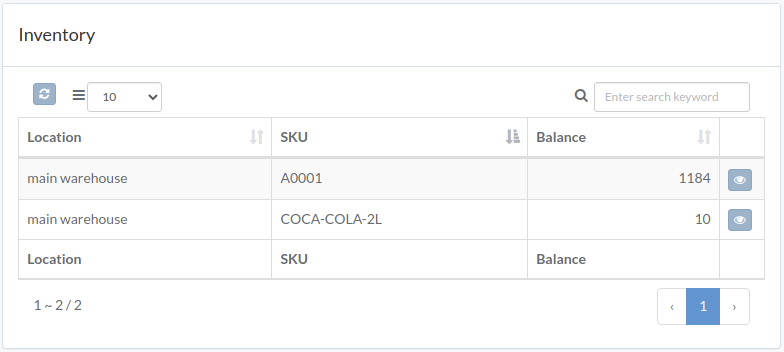
Inventory
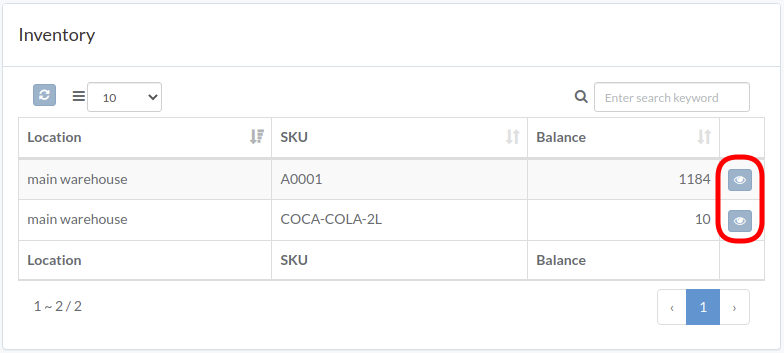
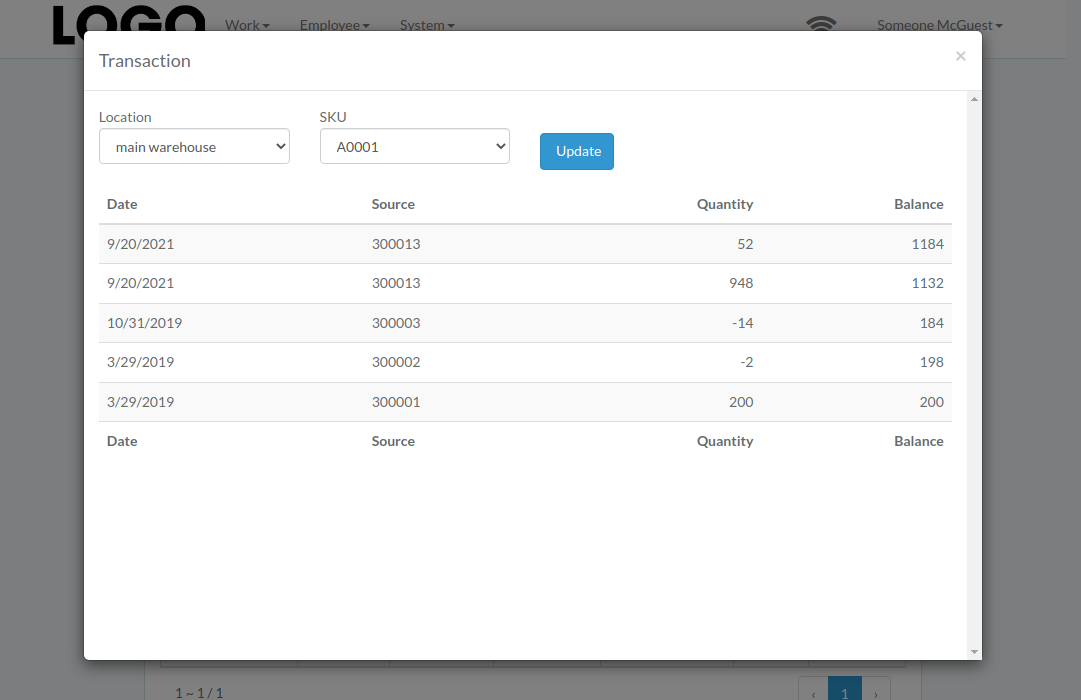
inventory transaction modal of the item appears
Report
Introduction
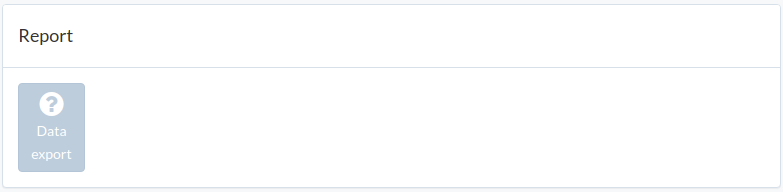
Following shows a sample window.
The chapter describes features available within the window.
Tool
Introduction
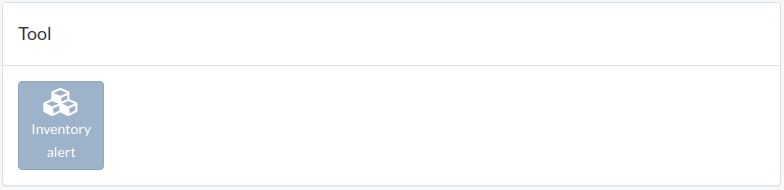
Following shows a sample window.
The chapter describes features available within the window.
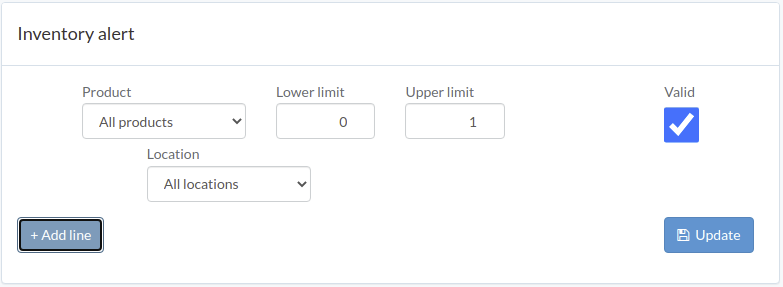
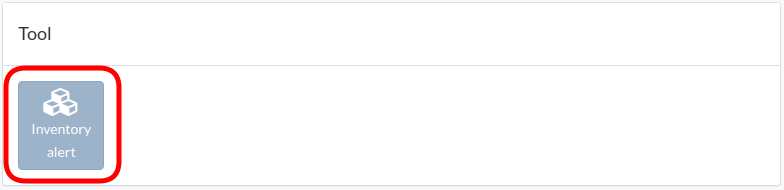
Inventory alert
Click "Inventory alert" in tool window
Select product & location; enter lower/upper limit, and validity.
Click "+ Add line" if more alert is needed.
Click "Update" when done.