Expense
- Introduction
- Create Expense
- Update Expense
- View Expense
- Submit Expense
- Retract Expense
- Approve Expense
Introduction
Following chapter describes expense-related feature
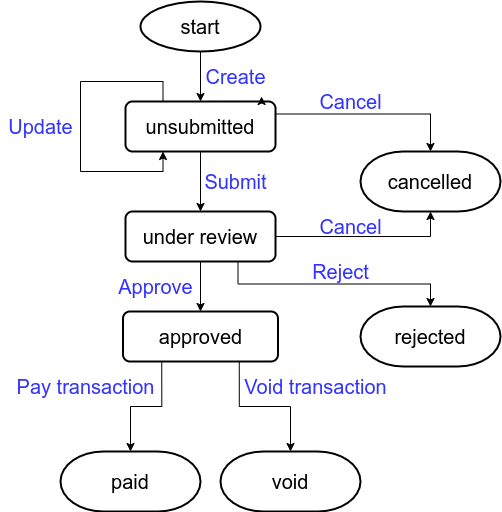
Any expense goes through life cycle illustrated in following flow-chart. Blue text denotes action; black text denote status
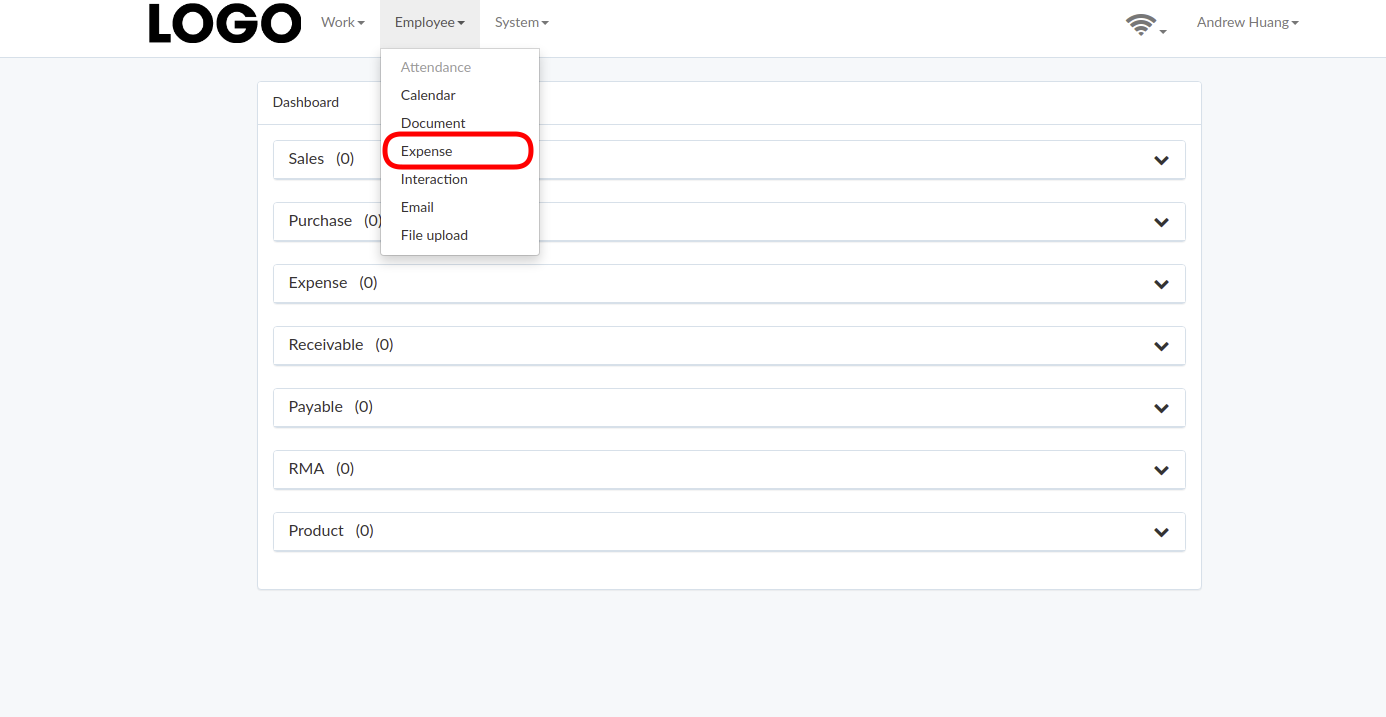
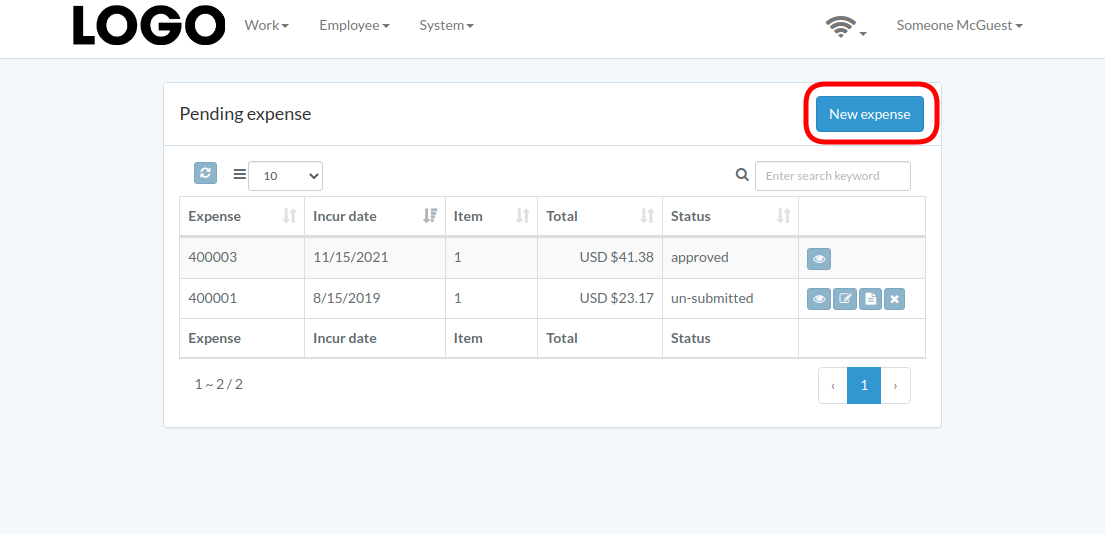
Click "Expense" under Employee menu to access dashboard
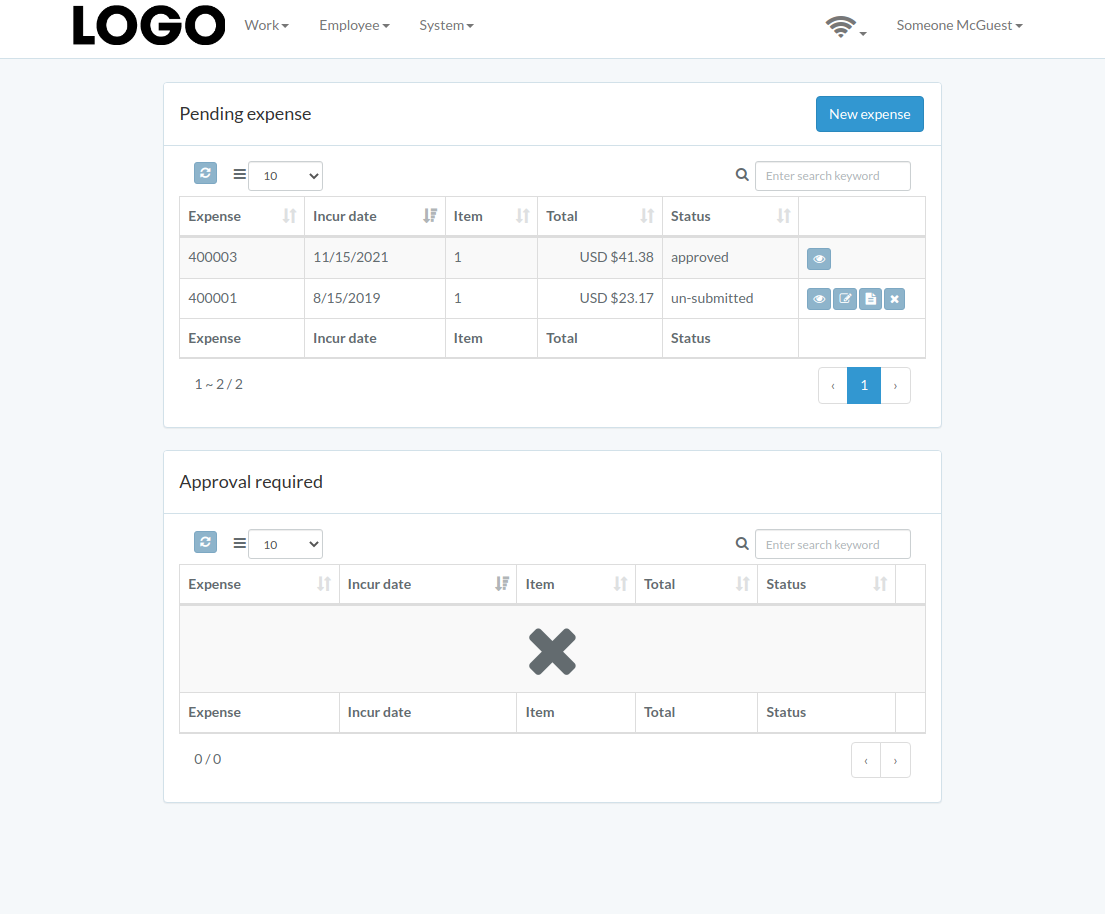
Following is a sample of expense dashboard
The chapter describes features available within the dashboard.
Create Expense
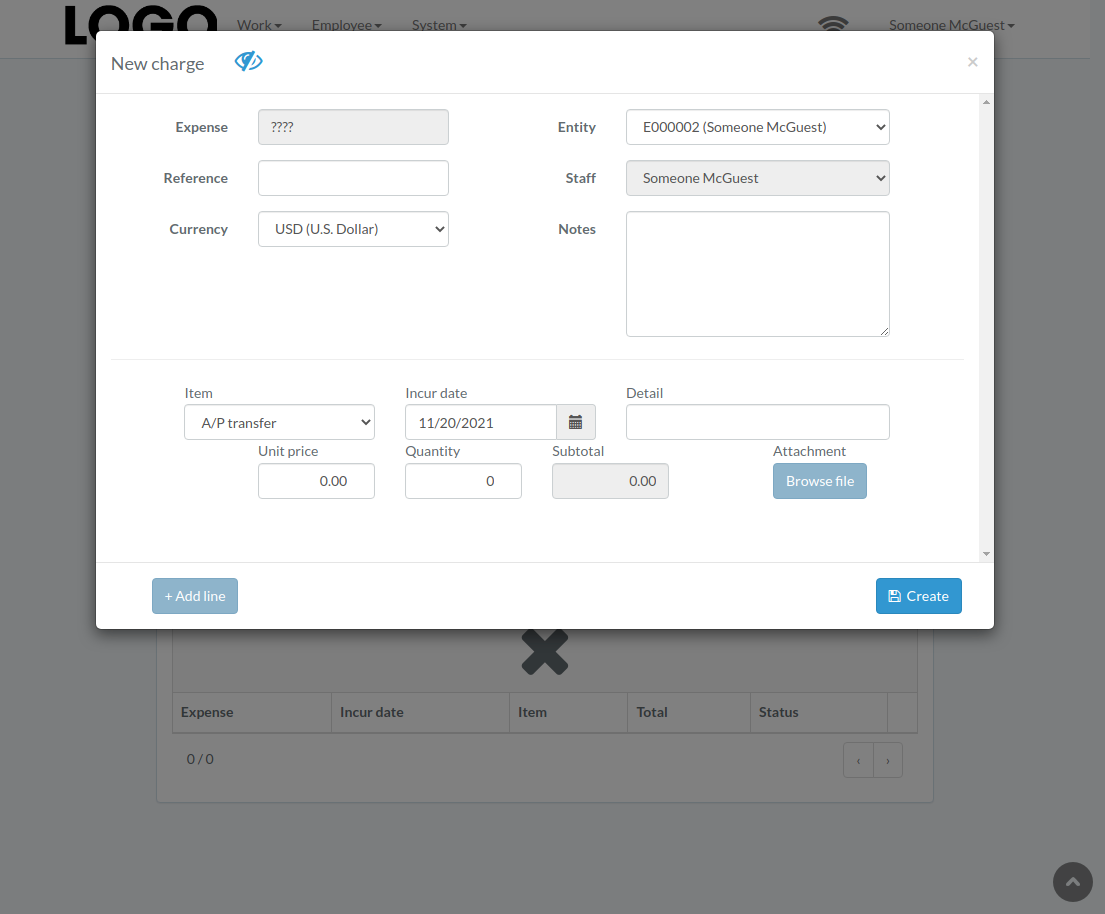
Click "New expense" on upper right corner of expense table
When expense modal appears, enter all information and click "Create" button.
Click "+ Add line" if needed
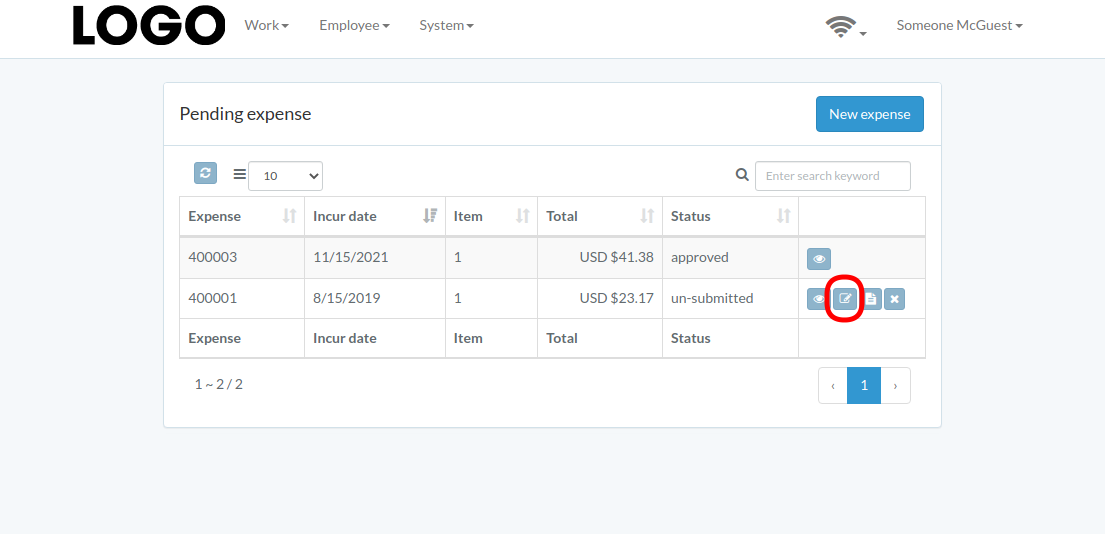
Update Expense
Click "Update" button on the right of expense
If no "Update" button, the expense can not be updated.
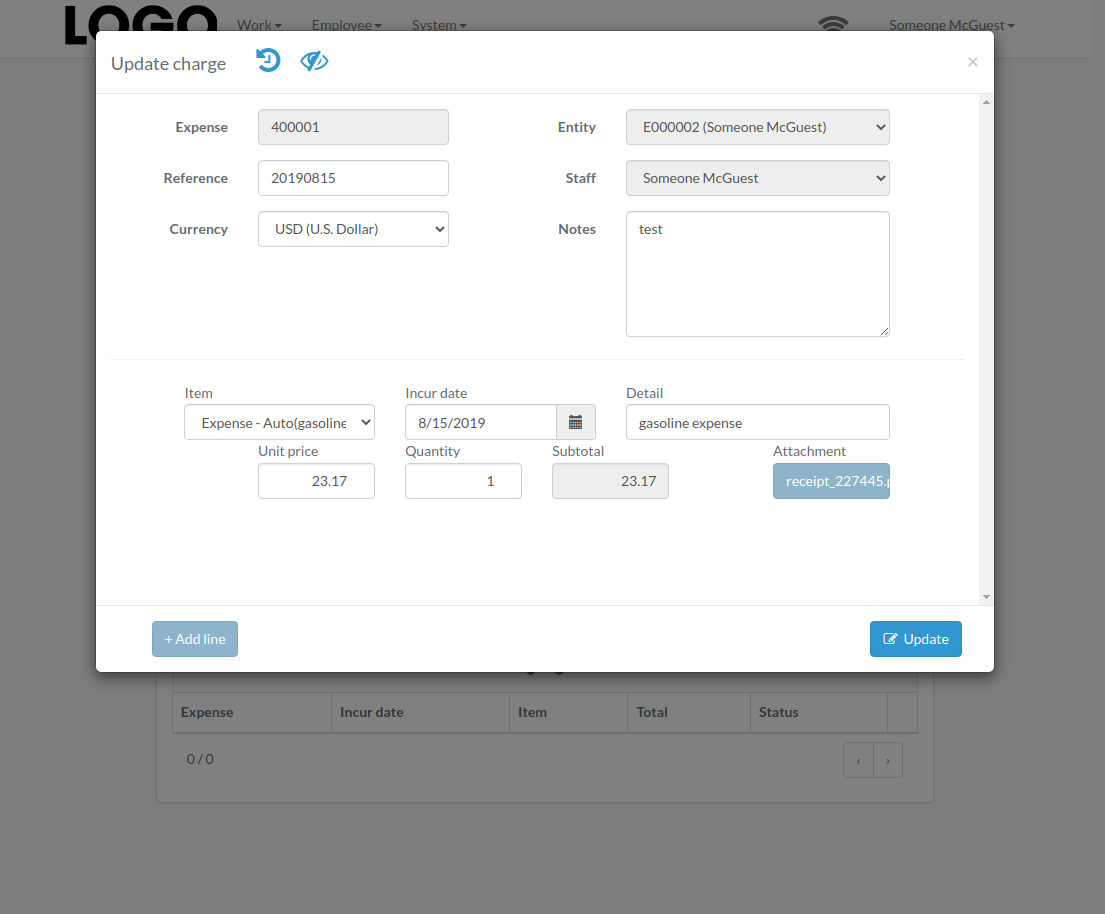
when expense modal appears, update expense data and click "Update" button
Click "+ Add line" if needed
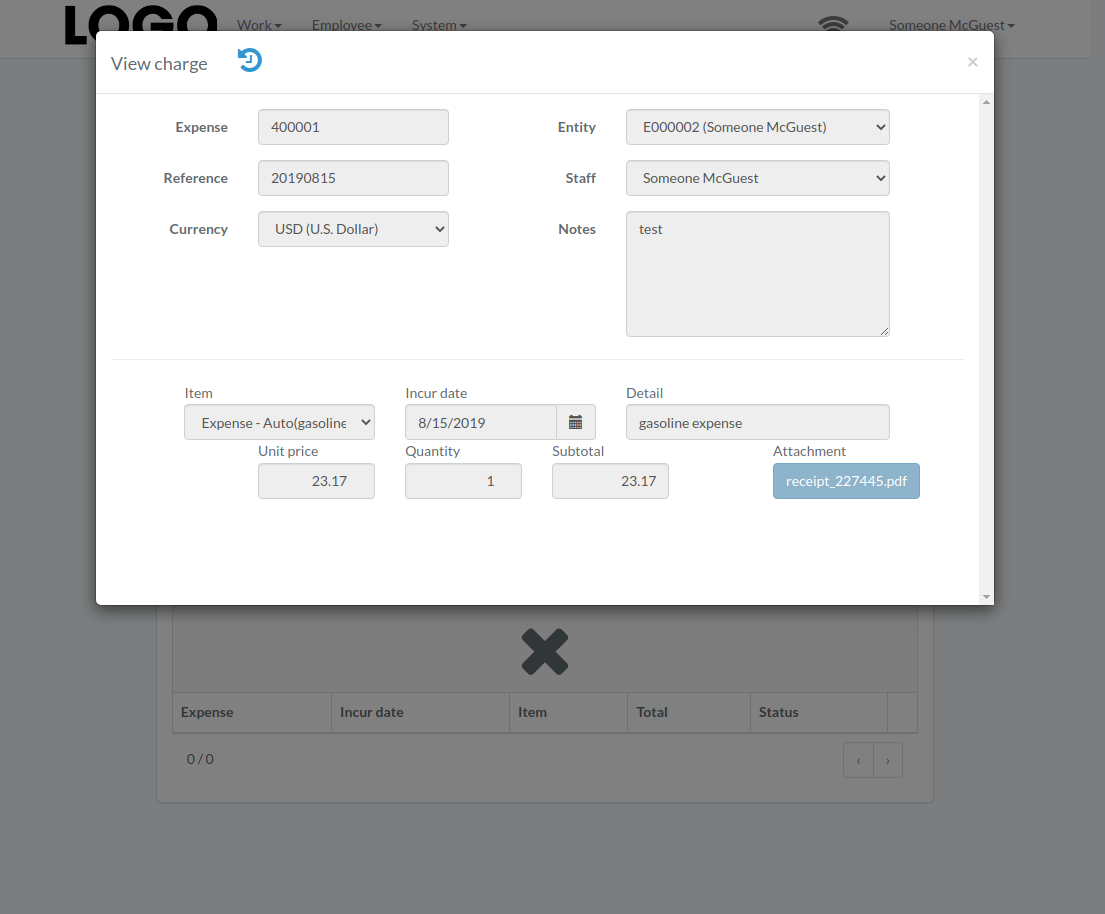
View Expense
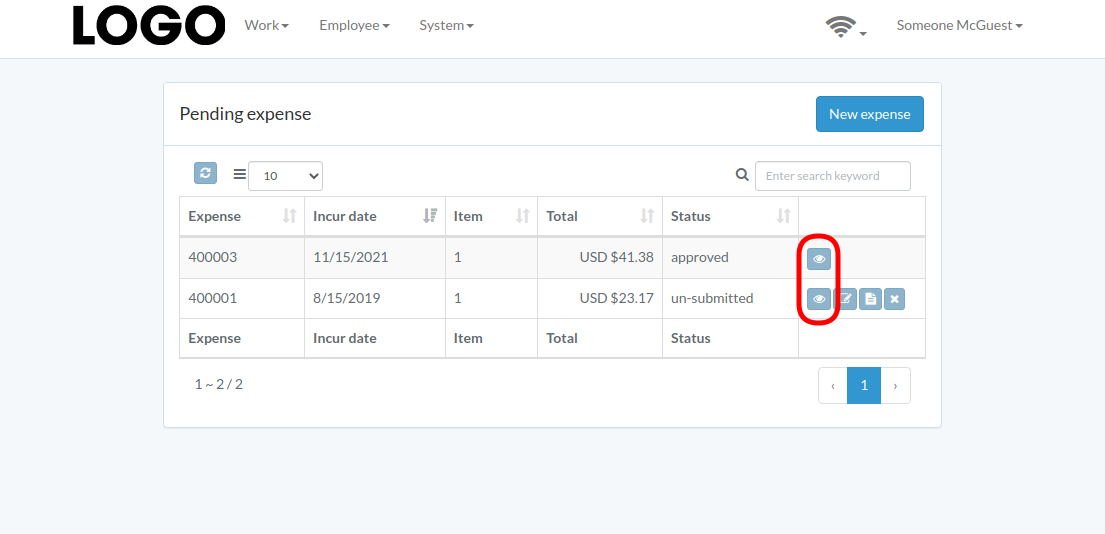
Expense modal appears
Submit Expense
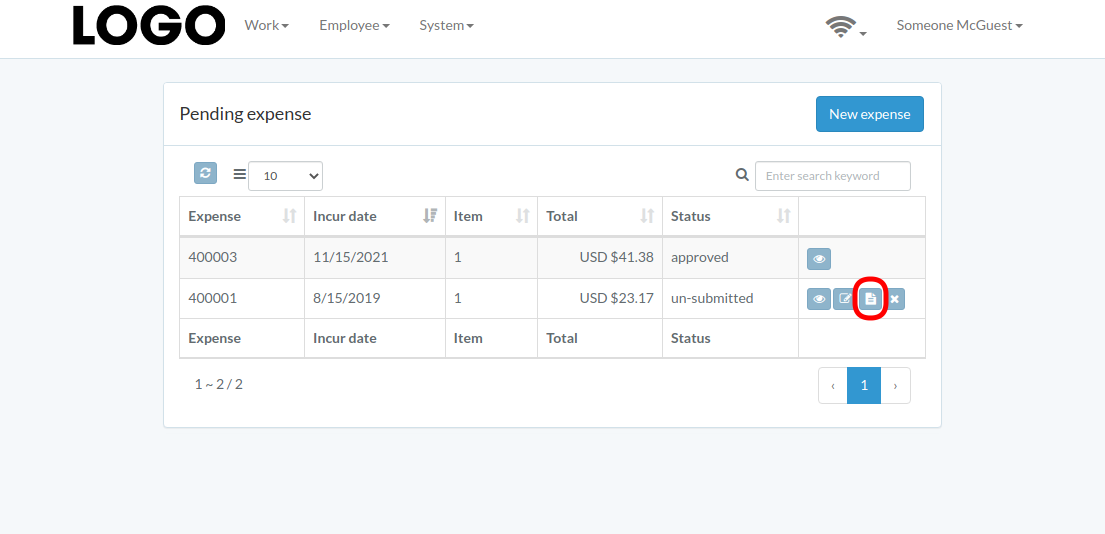
Click "Submit" button on the right of expense
If no "Submit" button, the expense can not be submitted.
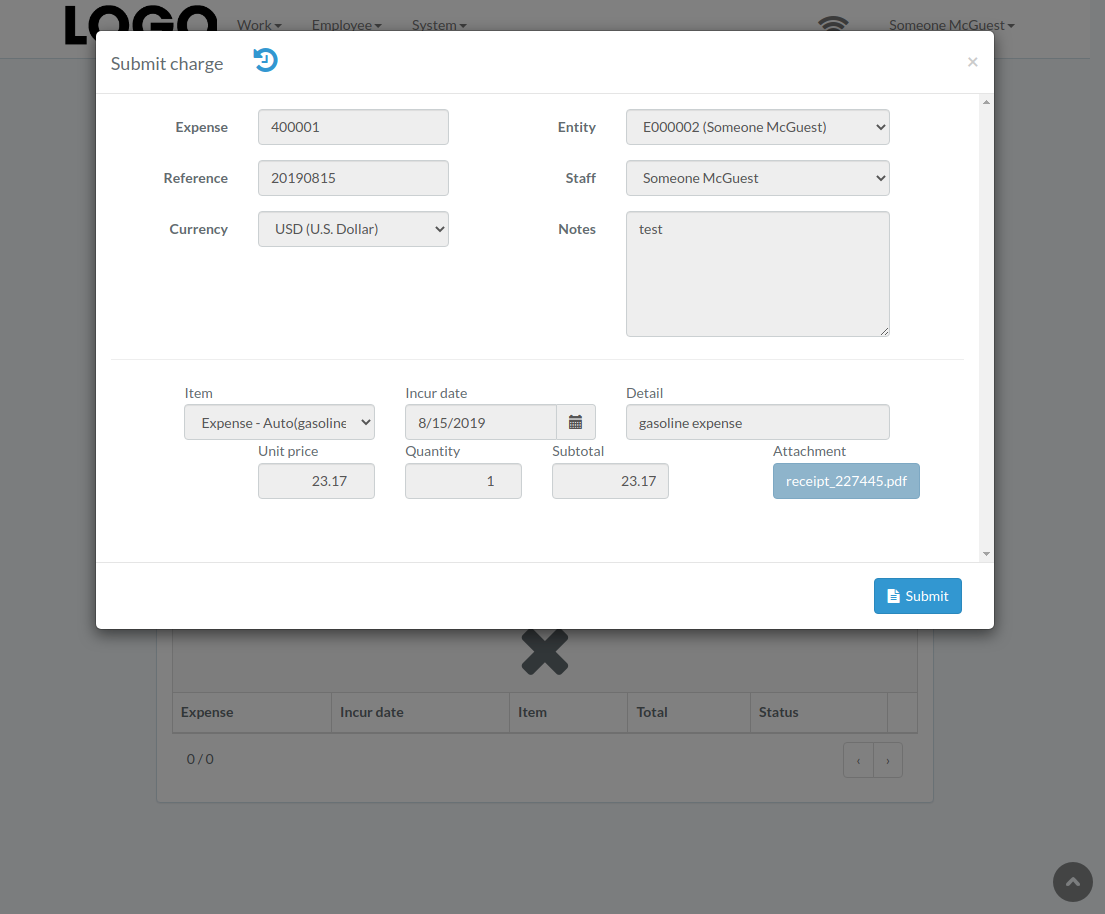
When expense modal appears, click "Submit" button to confirm submission
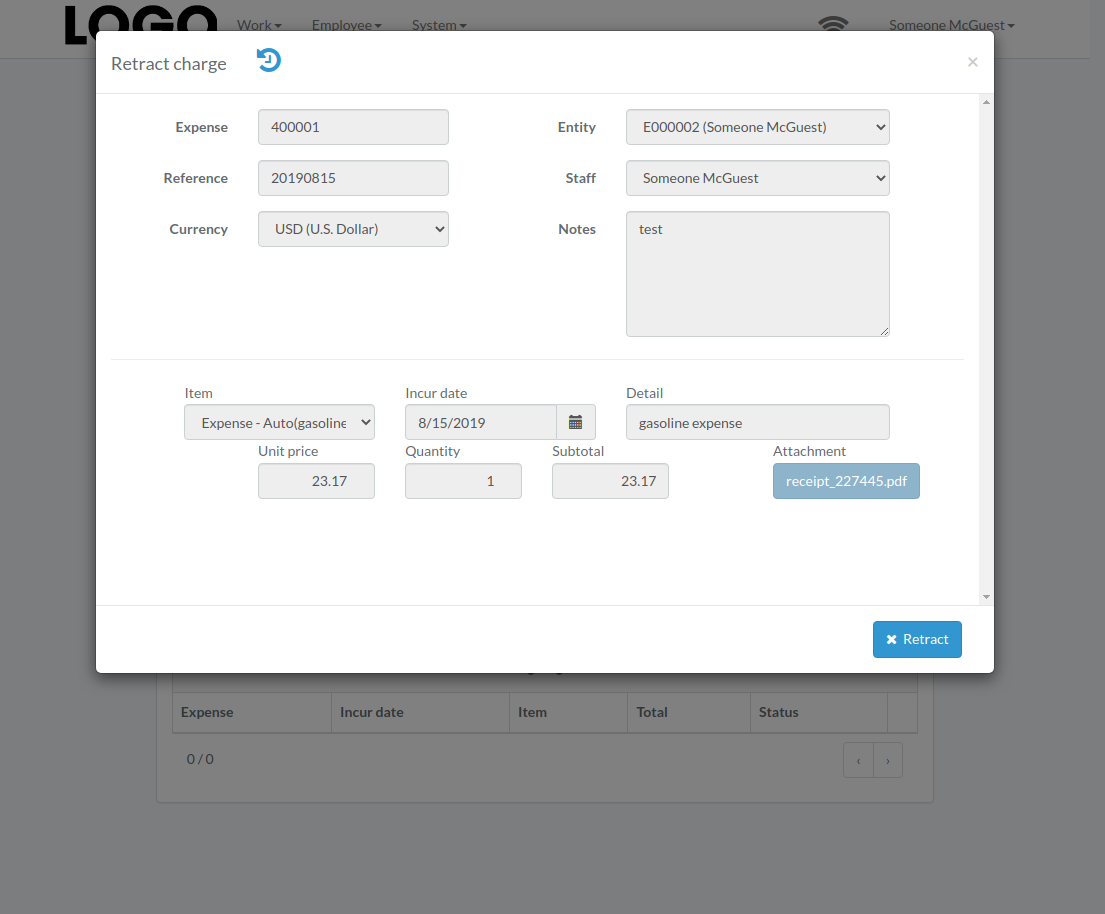
Retract Expense
Click "Retract" button on the right of expense
If no "Retract" button, the expense can not be retracted.

When expense modal appears, click "Retract" button to confirm retraction
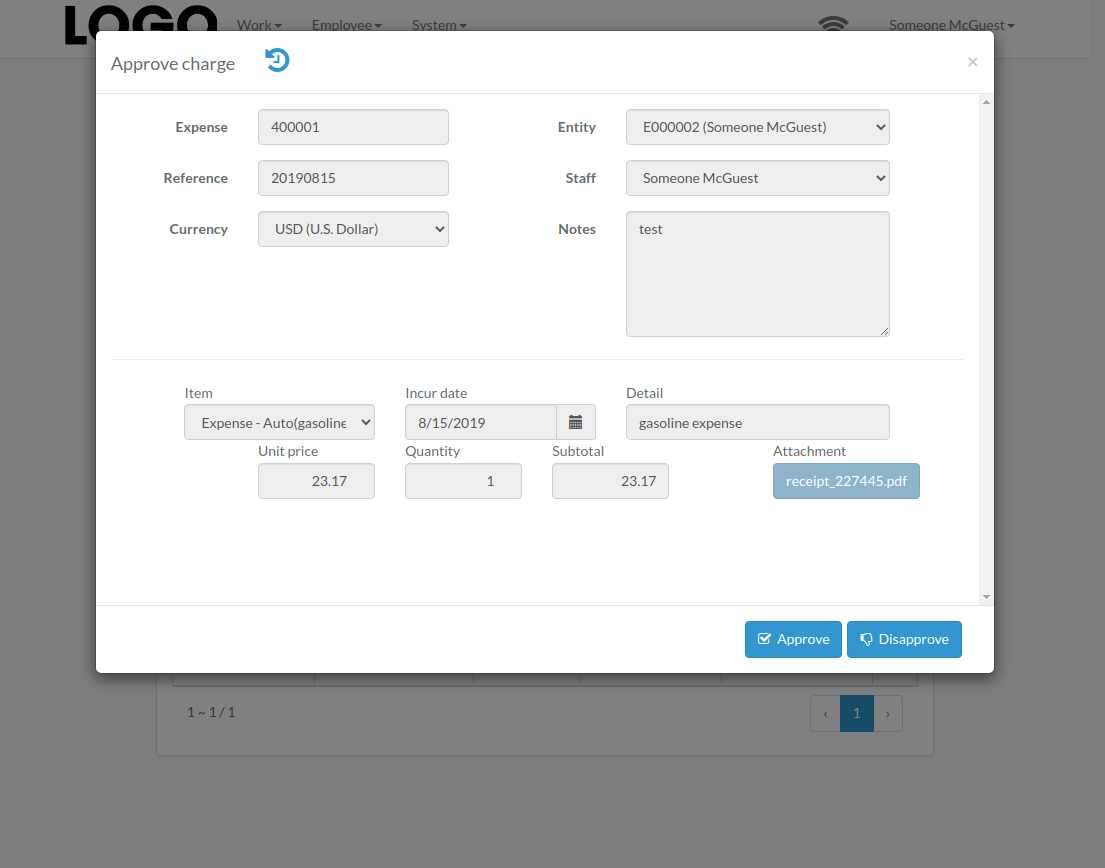
Approve Expense
Click "Approve" button on the right of expense
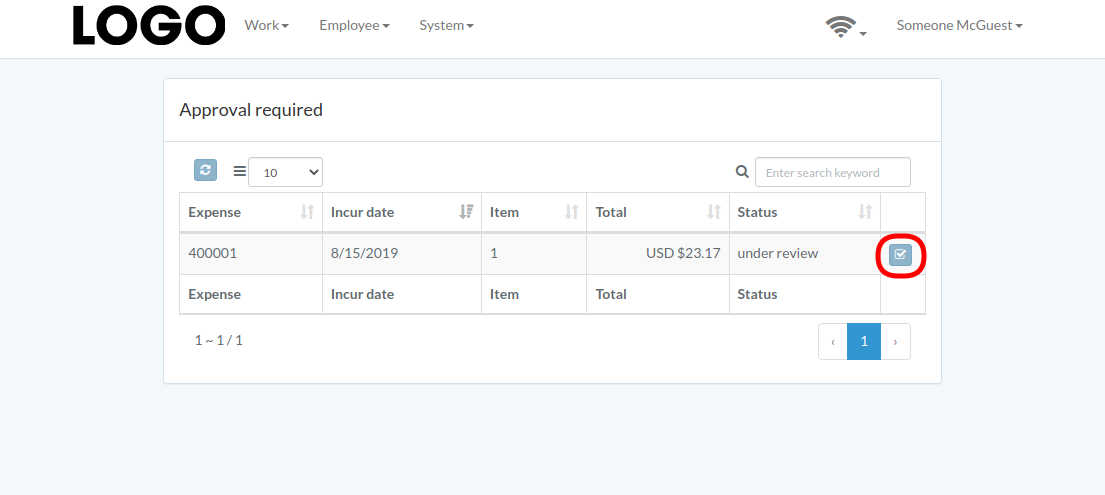
When expense modal appears, click "Approve" or "Disapprove" button to confirm